Making a Needleminder
Two ways to make your own needleminder — repurposing a brooch or pin, or making a custom one from shrink plastic and UV resin.
July 18, 2020
I started making my own needleminders because I couldn’t find the designs I wanted online. Here are the two ways I do it.
Method 1 — From a brooch, pin, or trinket
Take a piece of jewelry you already love, cut off the back, and glue magnets to it. Done.
What you’ll need
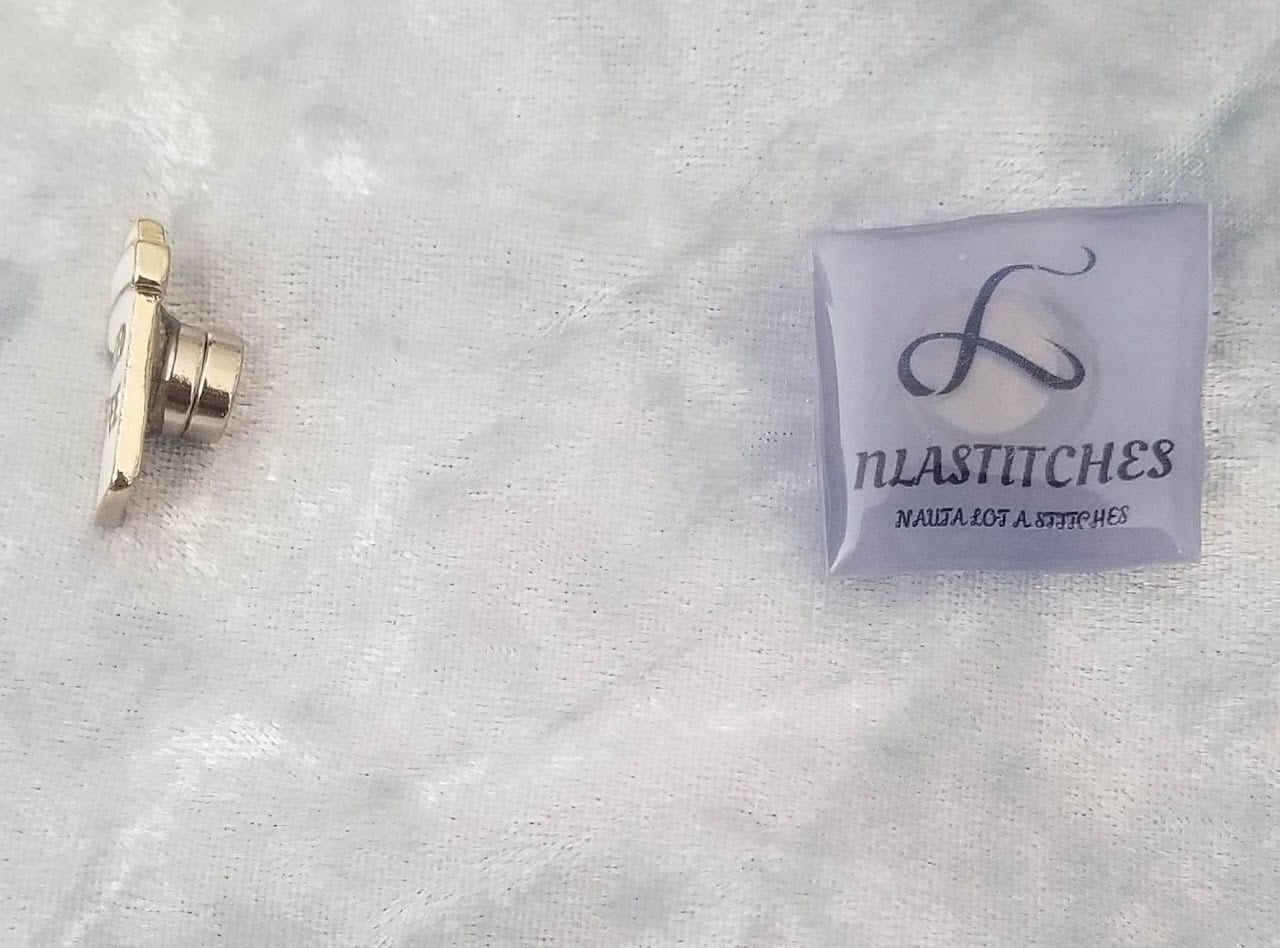
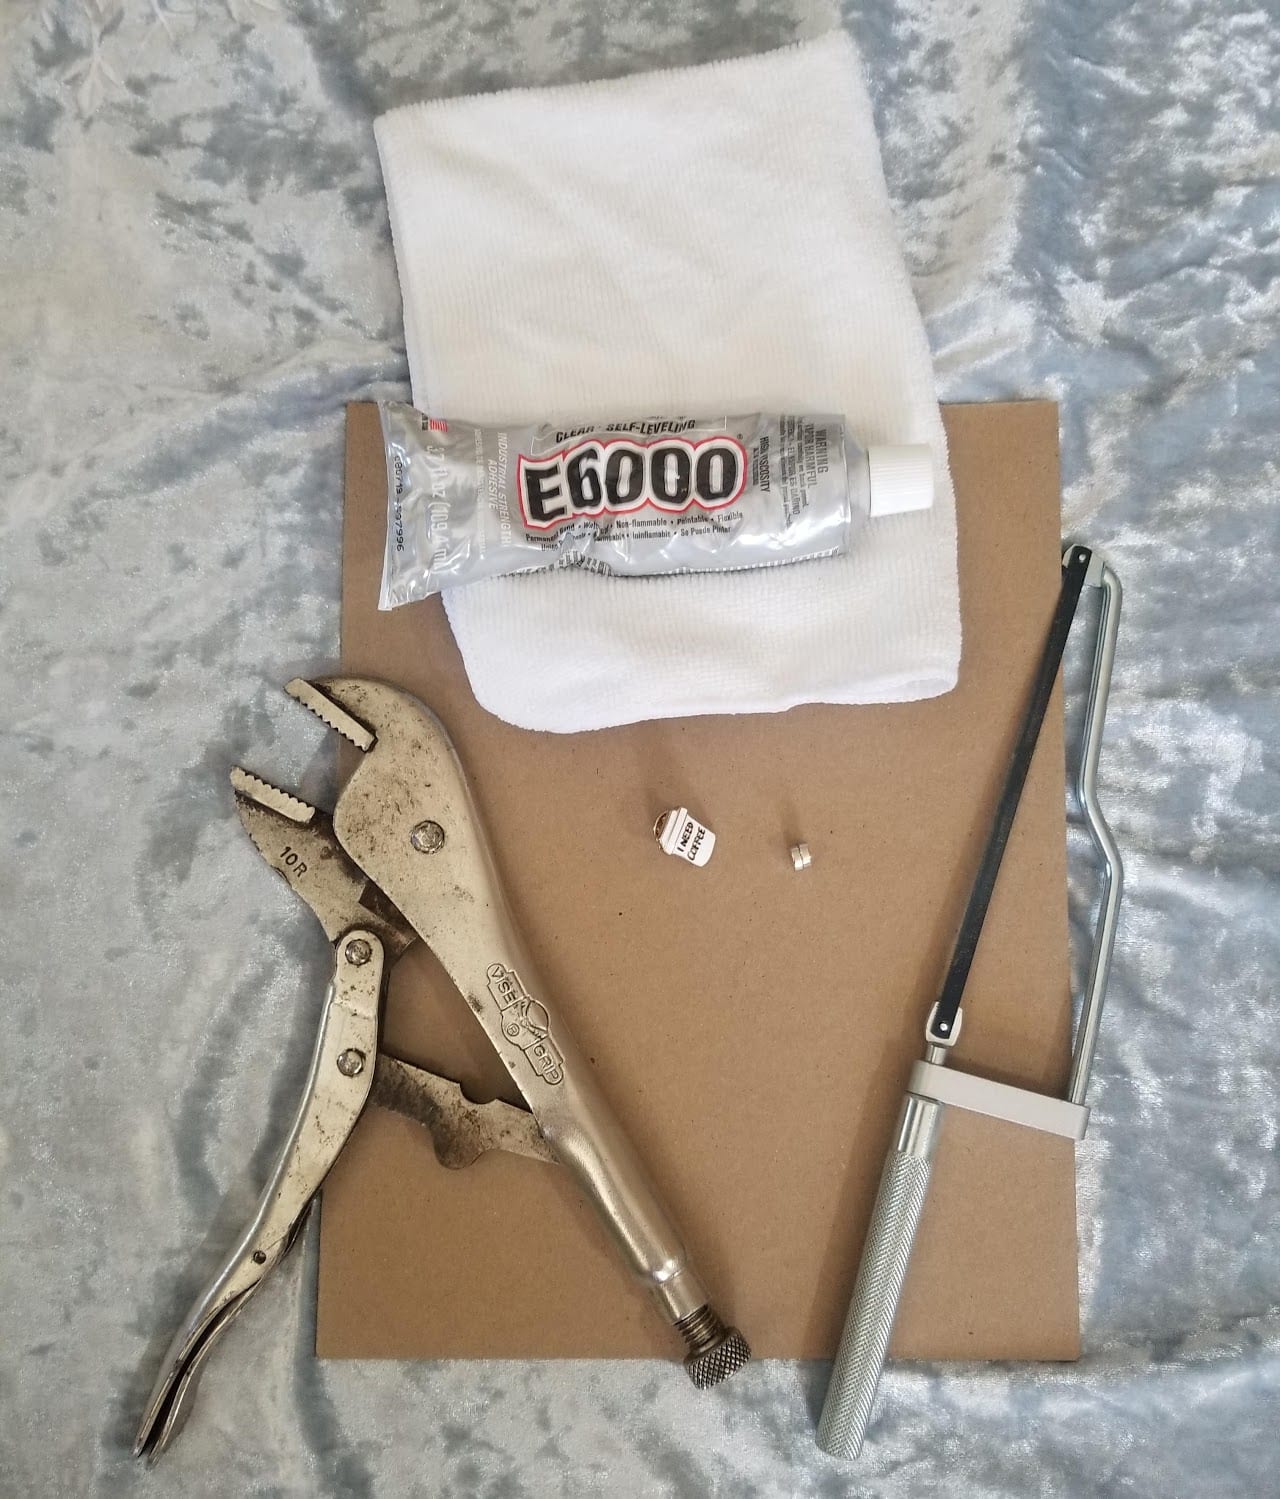
- Your brooch, pin, or small trinket / charm
- Vice grip
- Hand towel
- Metal hand saw
- A bucket or trash can to catch debris
- Energy ×10 — this takes some work
- Clear E6000 industrial adhesive
- 2 magnets (neodymium / rare earth, or craft magnets) — make sure they’re the right size for your piece
- Cardboard or a paper towel
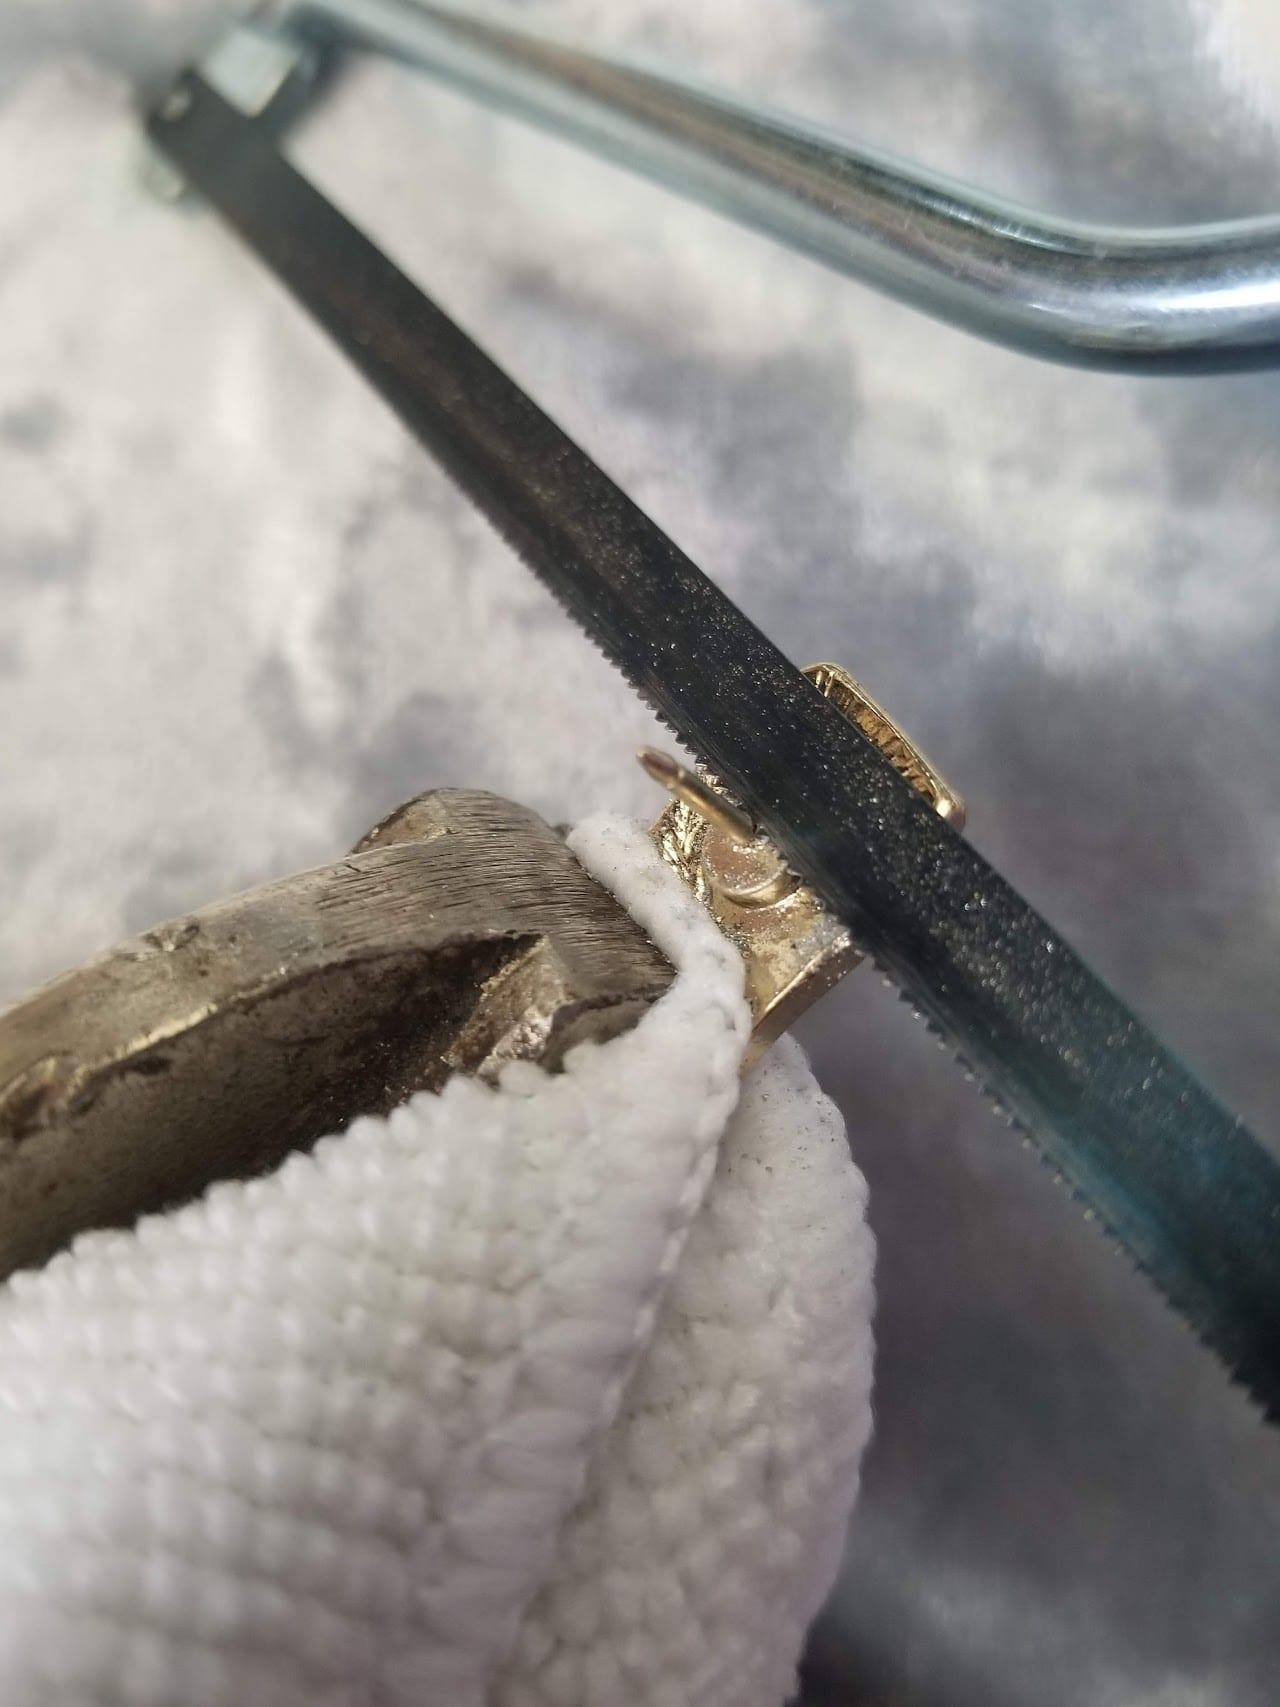
Step 1 — Secure the pin
Wrap the pin in a hand towel and clamp it into the vice grip.
For safety: ALWAYS wiggle the pin in the vice grip to make sure it doesn’t move before you start sawing.
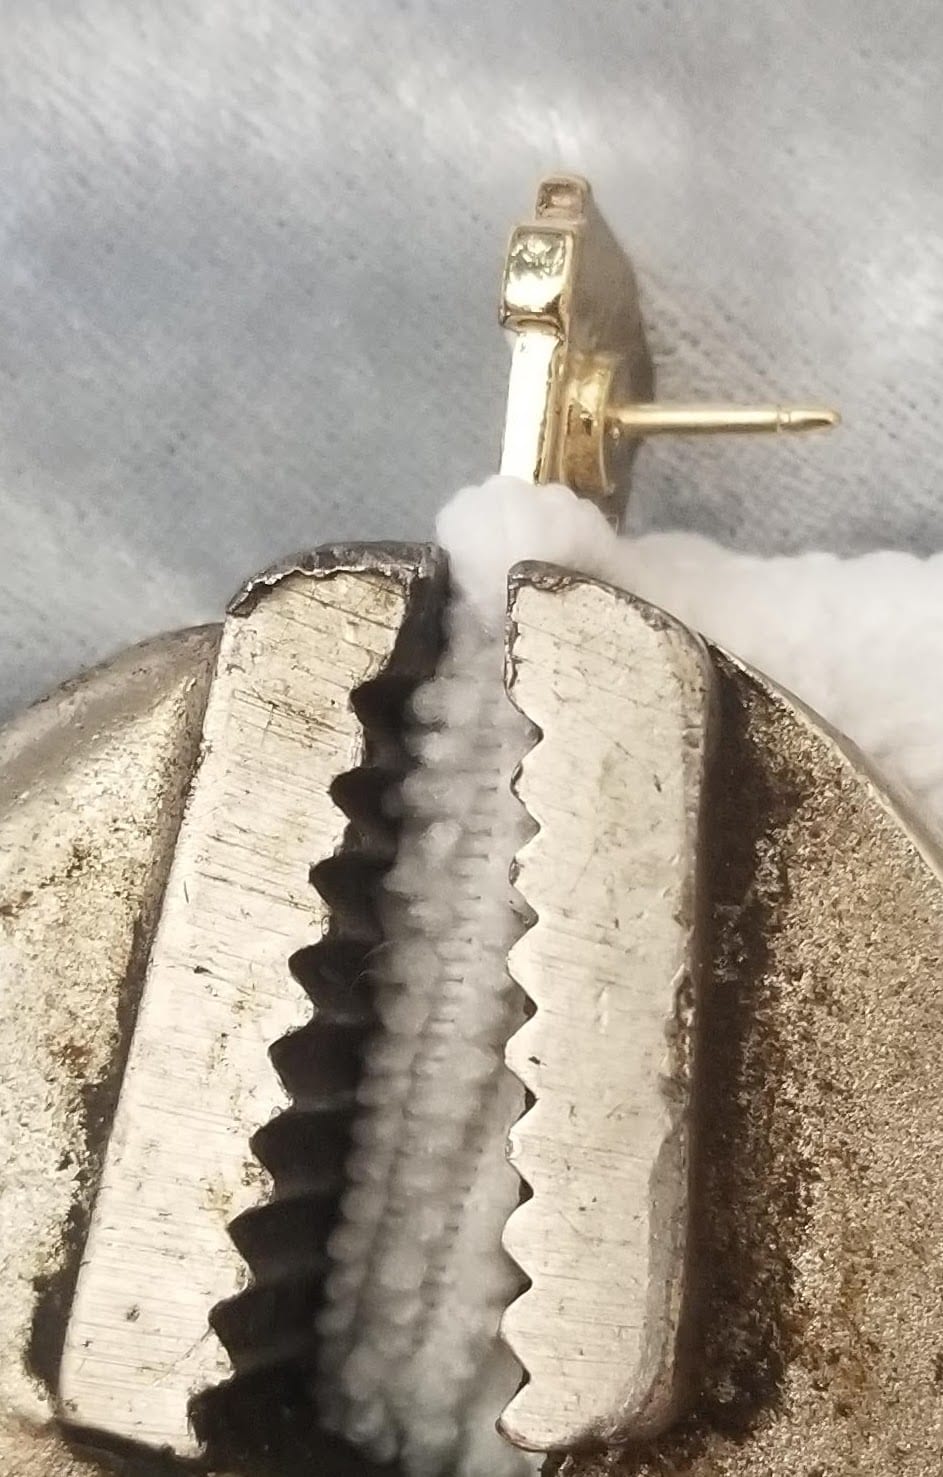
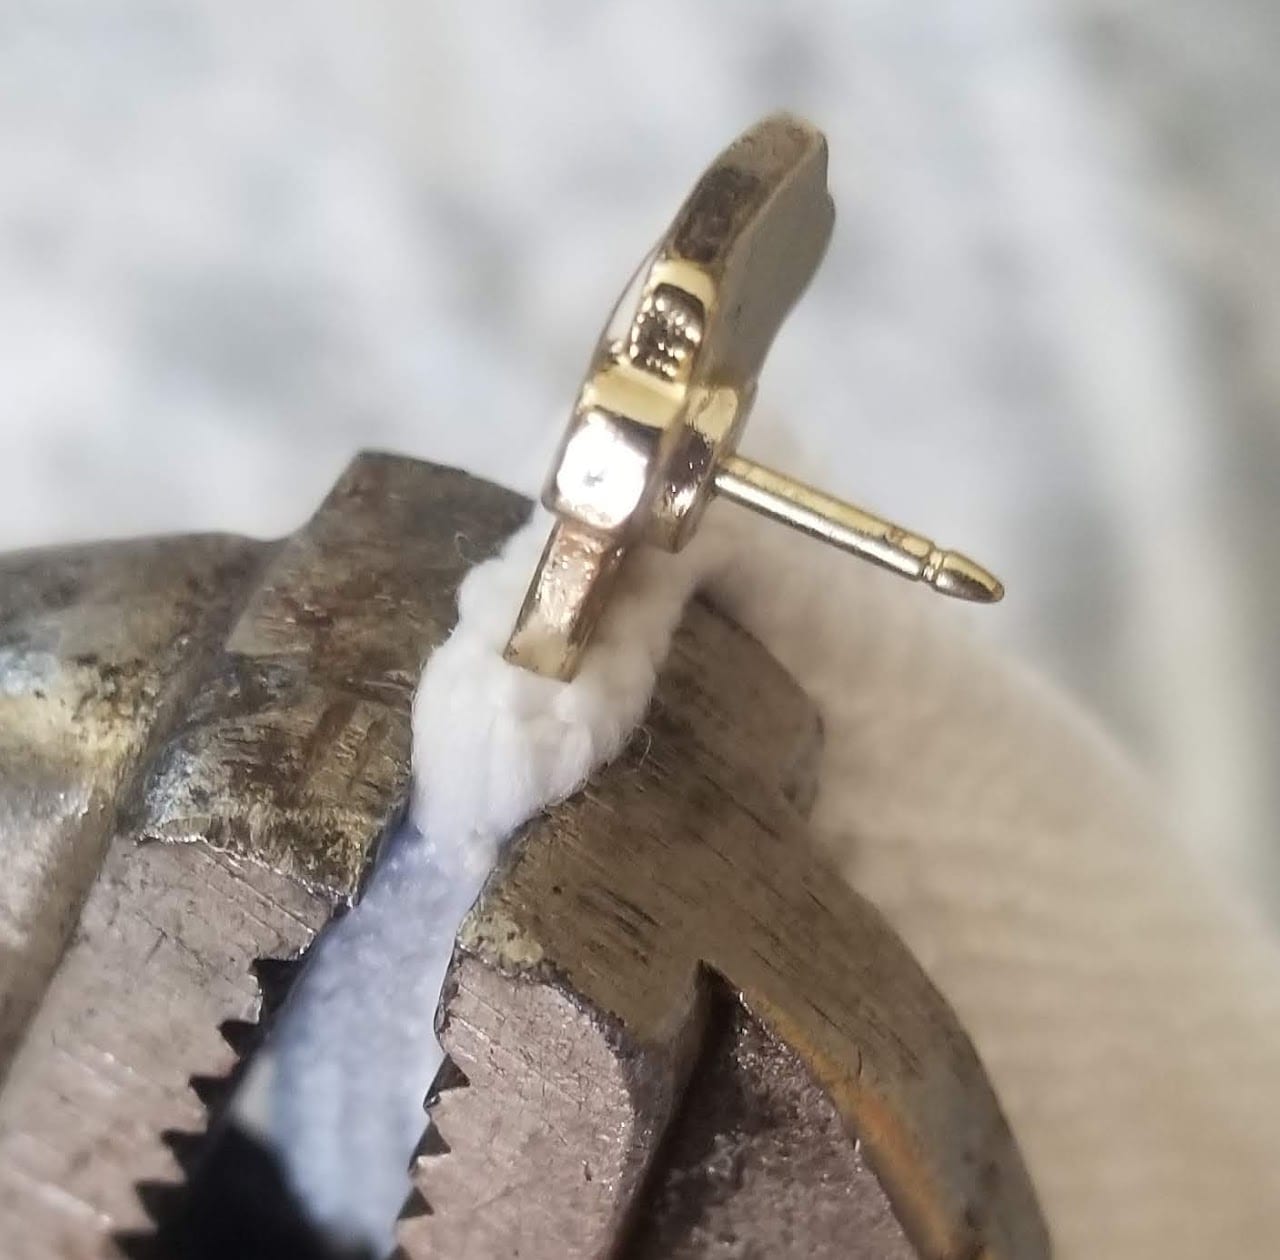
Step 2 — Saw off the pin back
Using a metal hand saw, carefully saw off the pin back over a trash can. Don’t force the saw with hard pressure — let the saw do the work. This is the slow part.
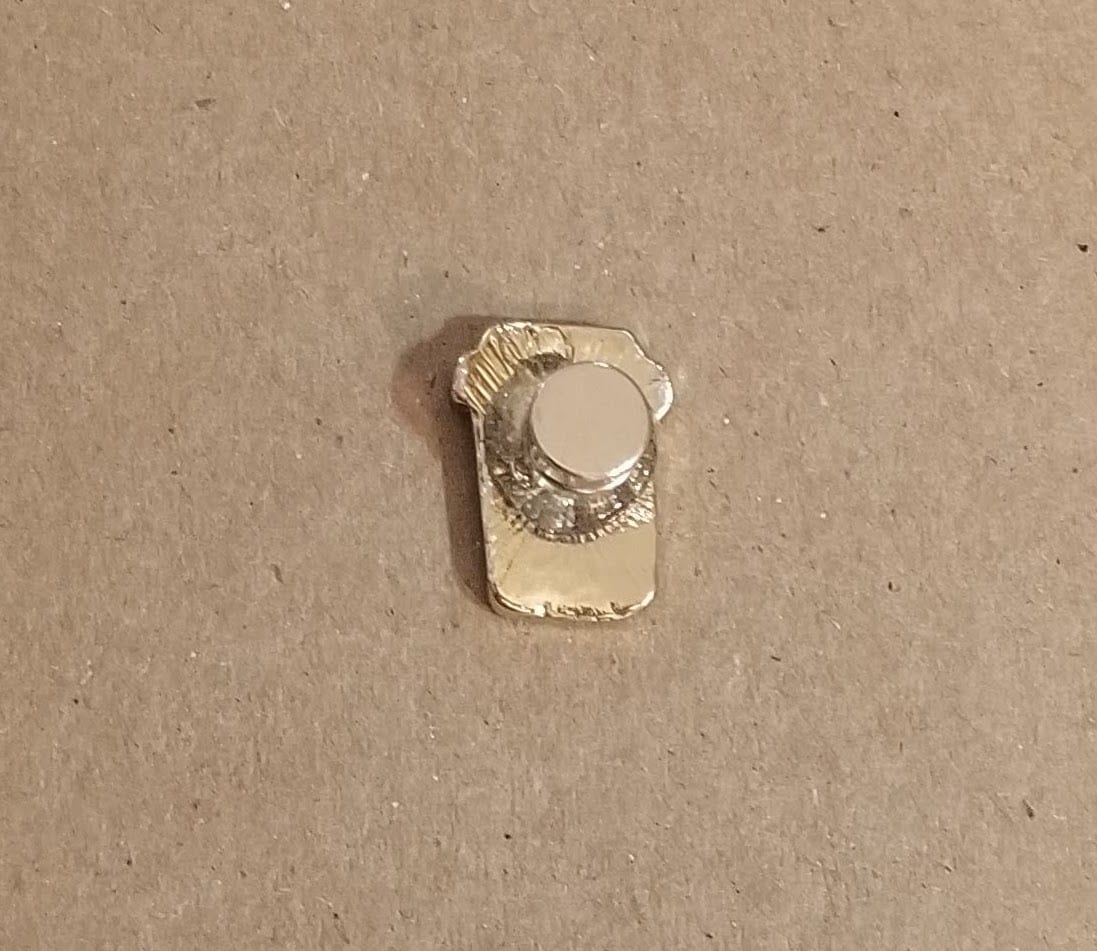
Step 3 — Glue the magnet
Place the modified pin face down on cardboard. Apply E6000 adhesive and press a magnet onto the back.
Tip: if the glue doesn’t come out in a clean dot, spread it around with a toothpick.
Step 4 — Cure
Let it cure. I give it 24 hours, but the manufacturer says full strength can take up to 72.
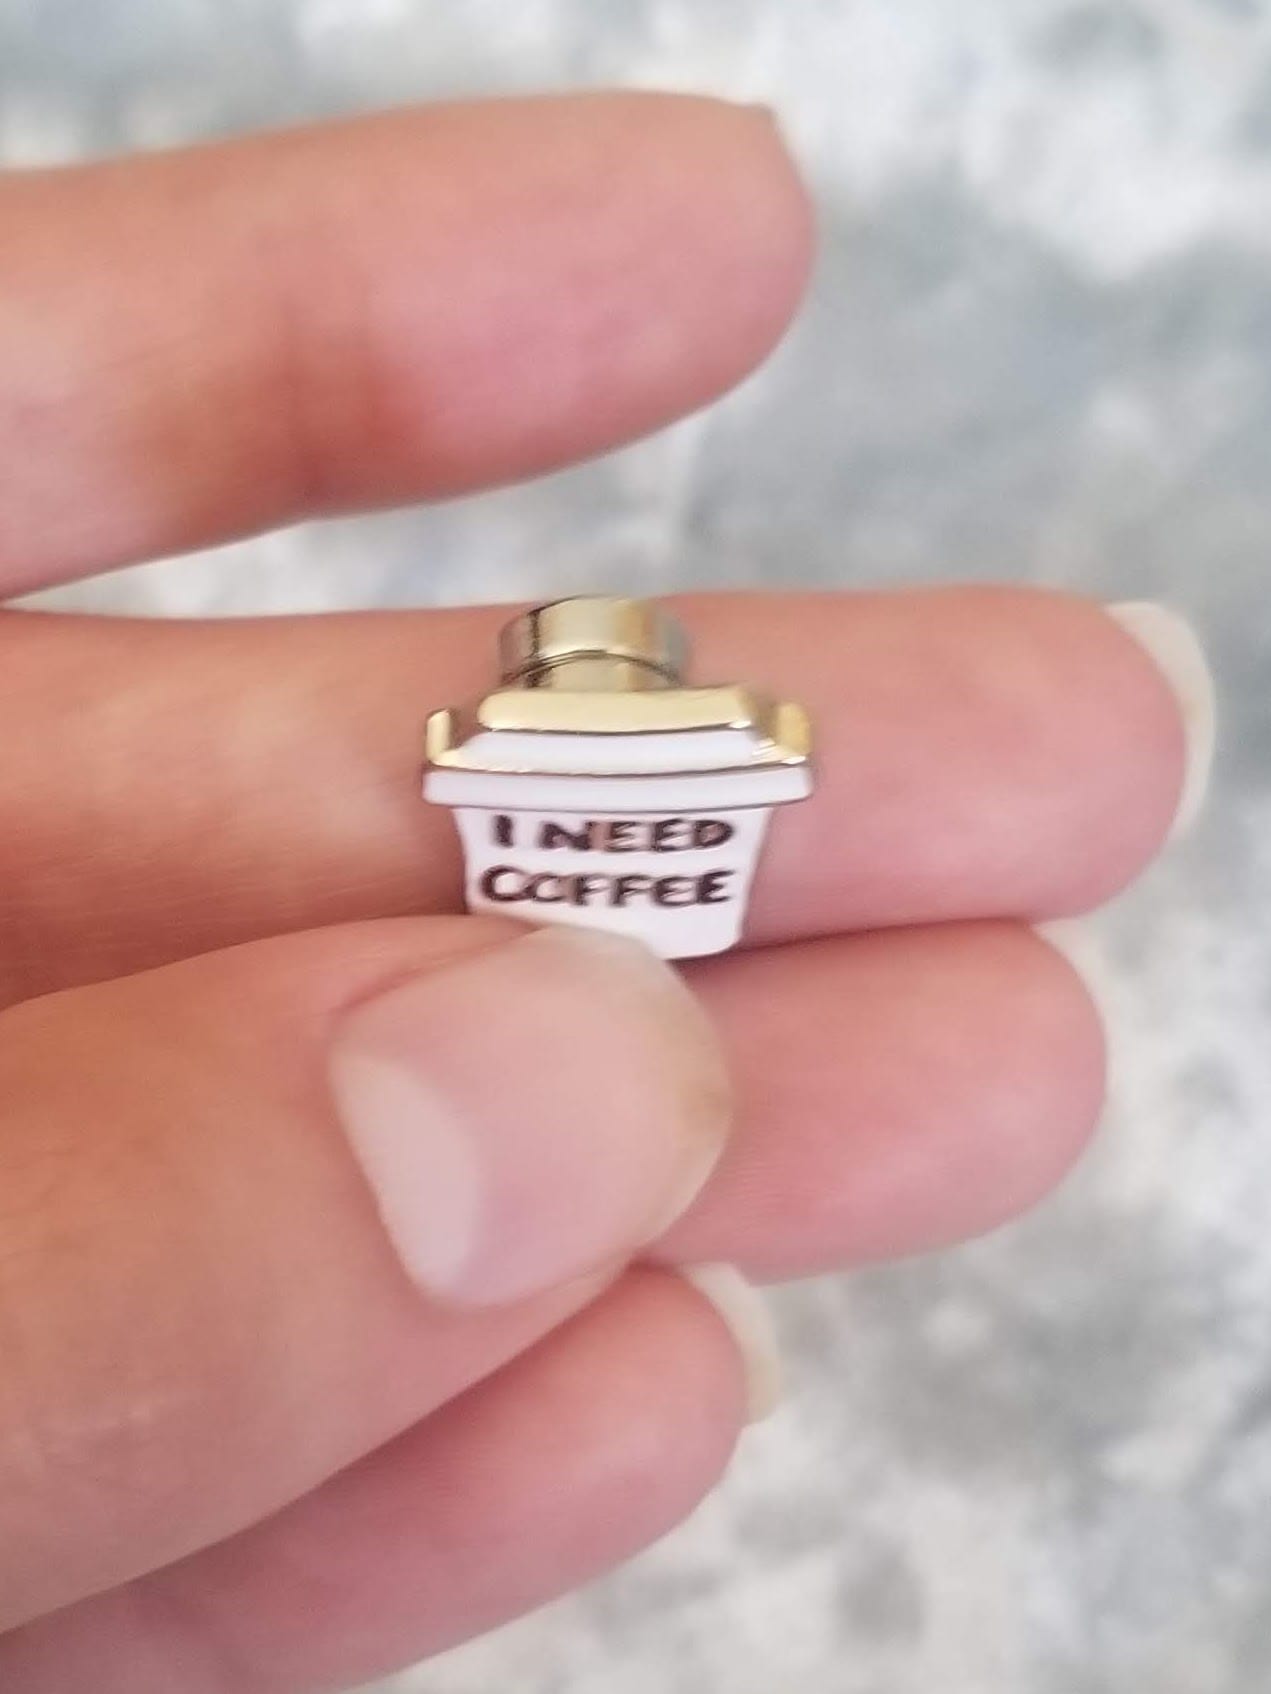
That’s it — pair it with a second magnet under your fabric and you’ve got a needleminder.
Method 2 — From shrink plastic
This one lets you make a needleminder out of any image you want. More steps, but the result is custom.
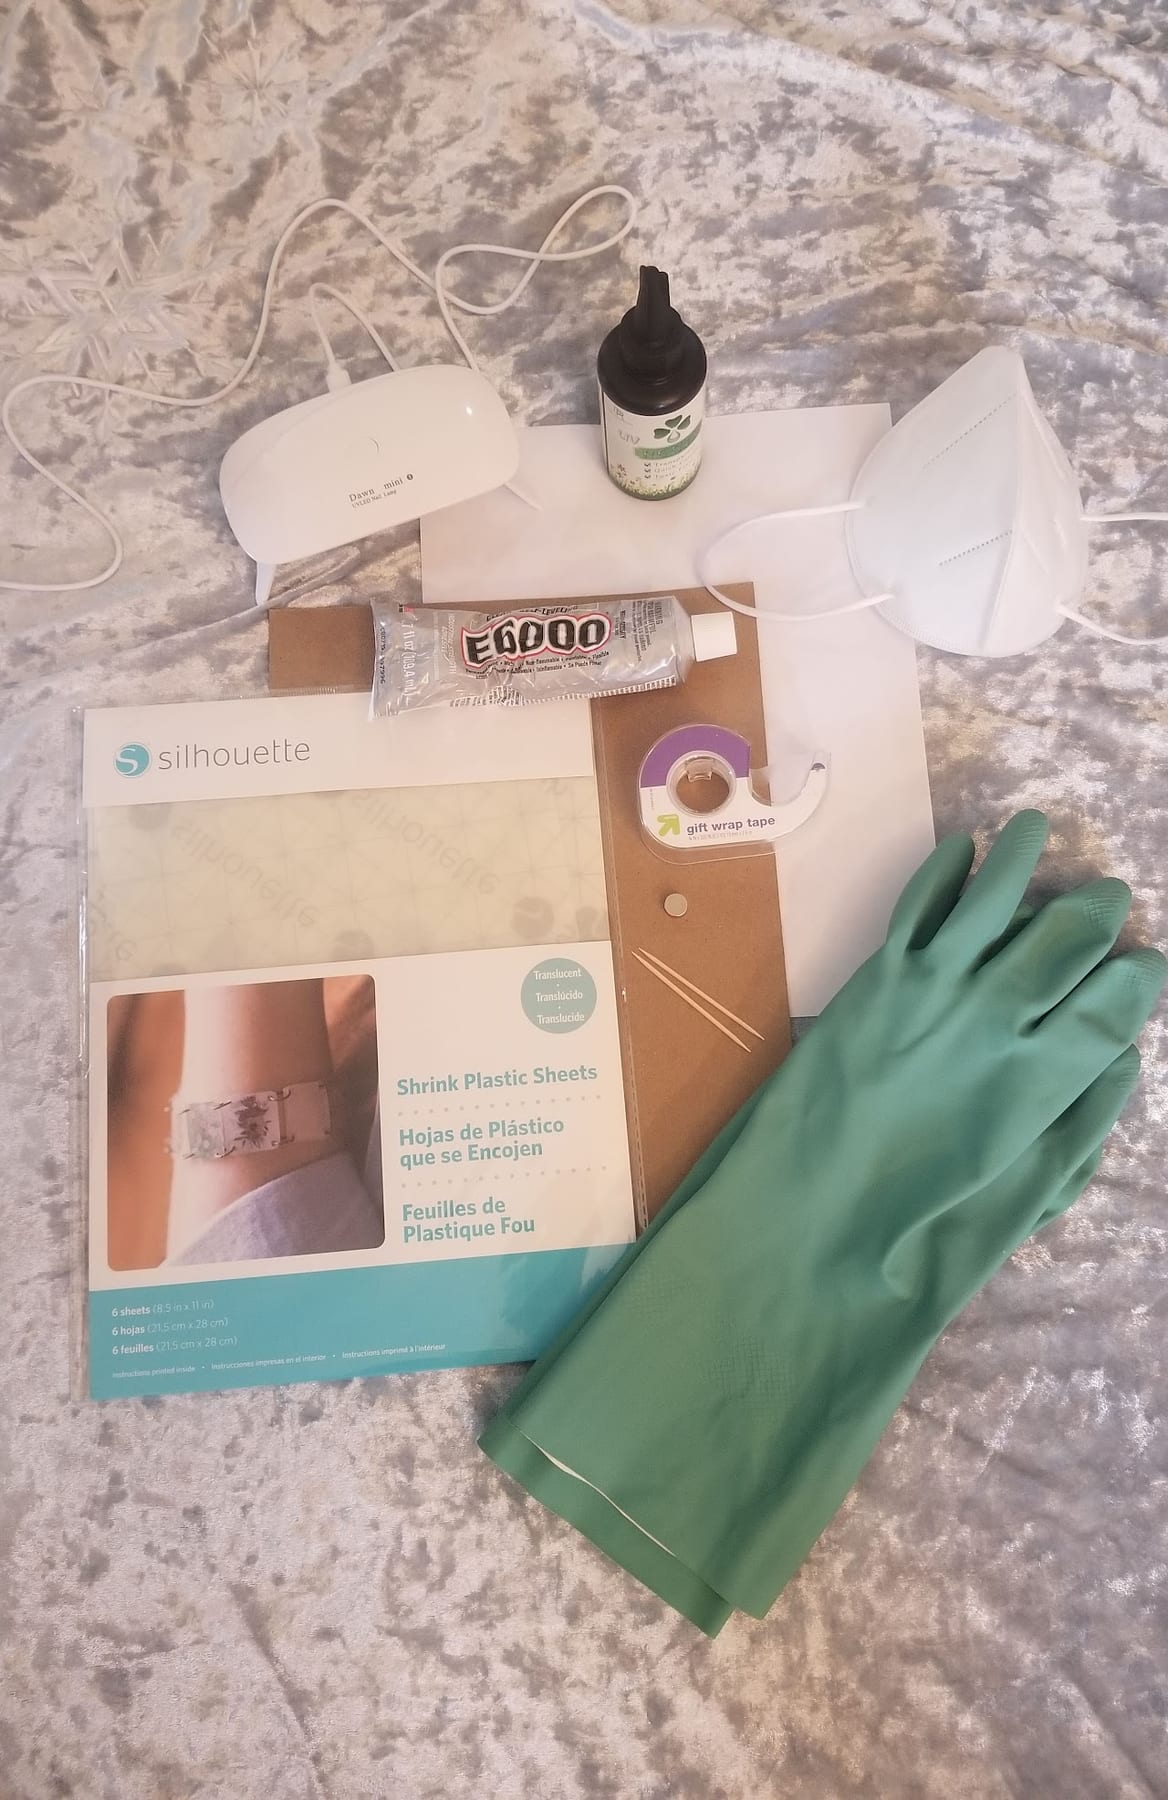
What you’ll need
- Shrink plastic (I like Silhouette brand, clear)
- A computer with an inkjet printer
- Paper
- Tape
- Oven or embossing heat gun
- A flat pan and spatula
- Clear UV resin
- Gloves and a mask
- UV LED lamp (or sunlight)
- Toothpicks (and a lighter, optional)
- Clear E6000 industrial adhesive
- 2 magnets (neodymium / rare earth, or craft magnets) — make sure they’re the right size
- Cardboard or paper towel
- Sandpaper (optional)
Step 1 — Preheat
Preheat your oven to 350°F.
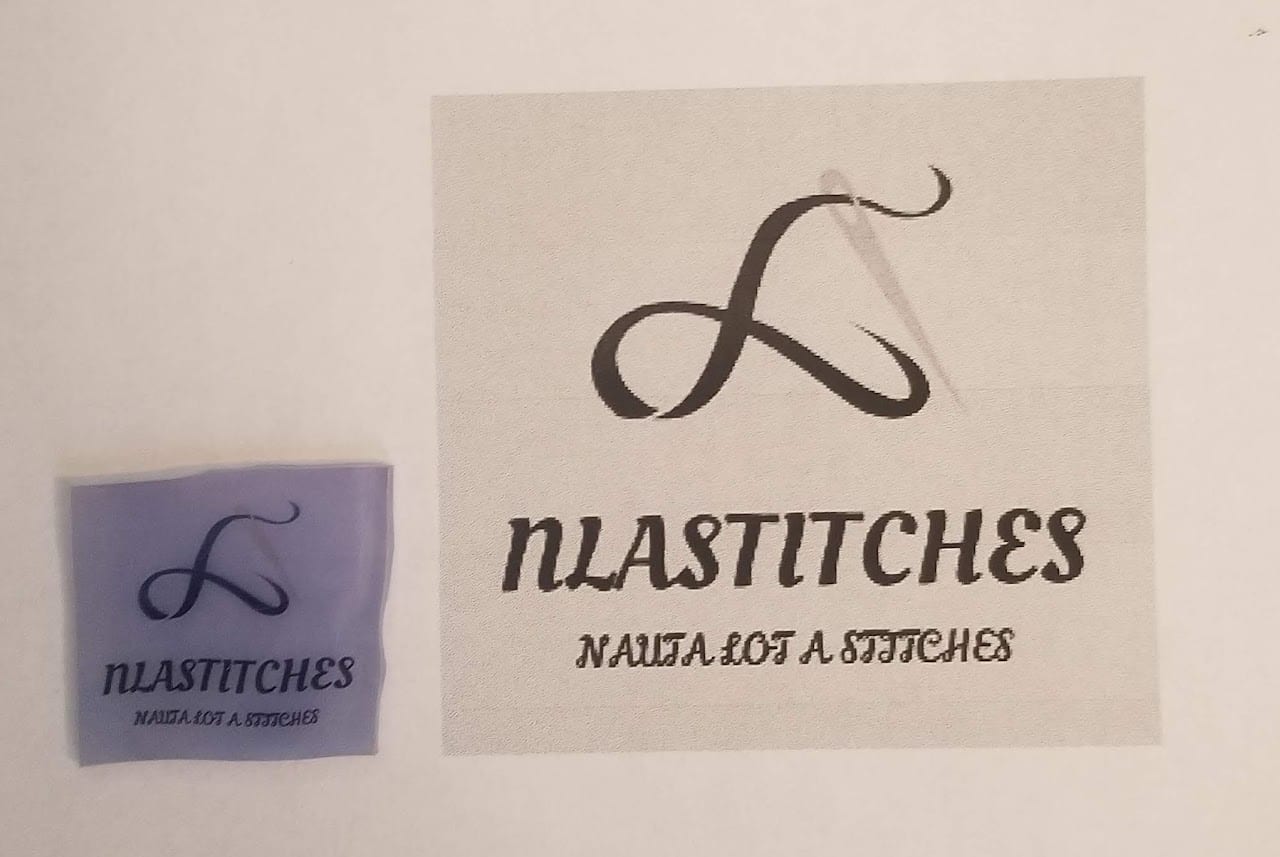
Step 2 — Print your image (black and white)
Find the picture you want to use and print it in black and white first. The size of the printed image determines the final size of your needleminder — remember that shrink plastic shrinks down to roughly a third of the original size. (My example: I printed at about 2¼” × 2⅜”, and it ended up around 15/16” × 15/16”.)

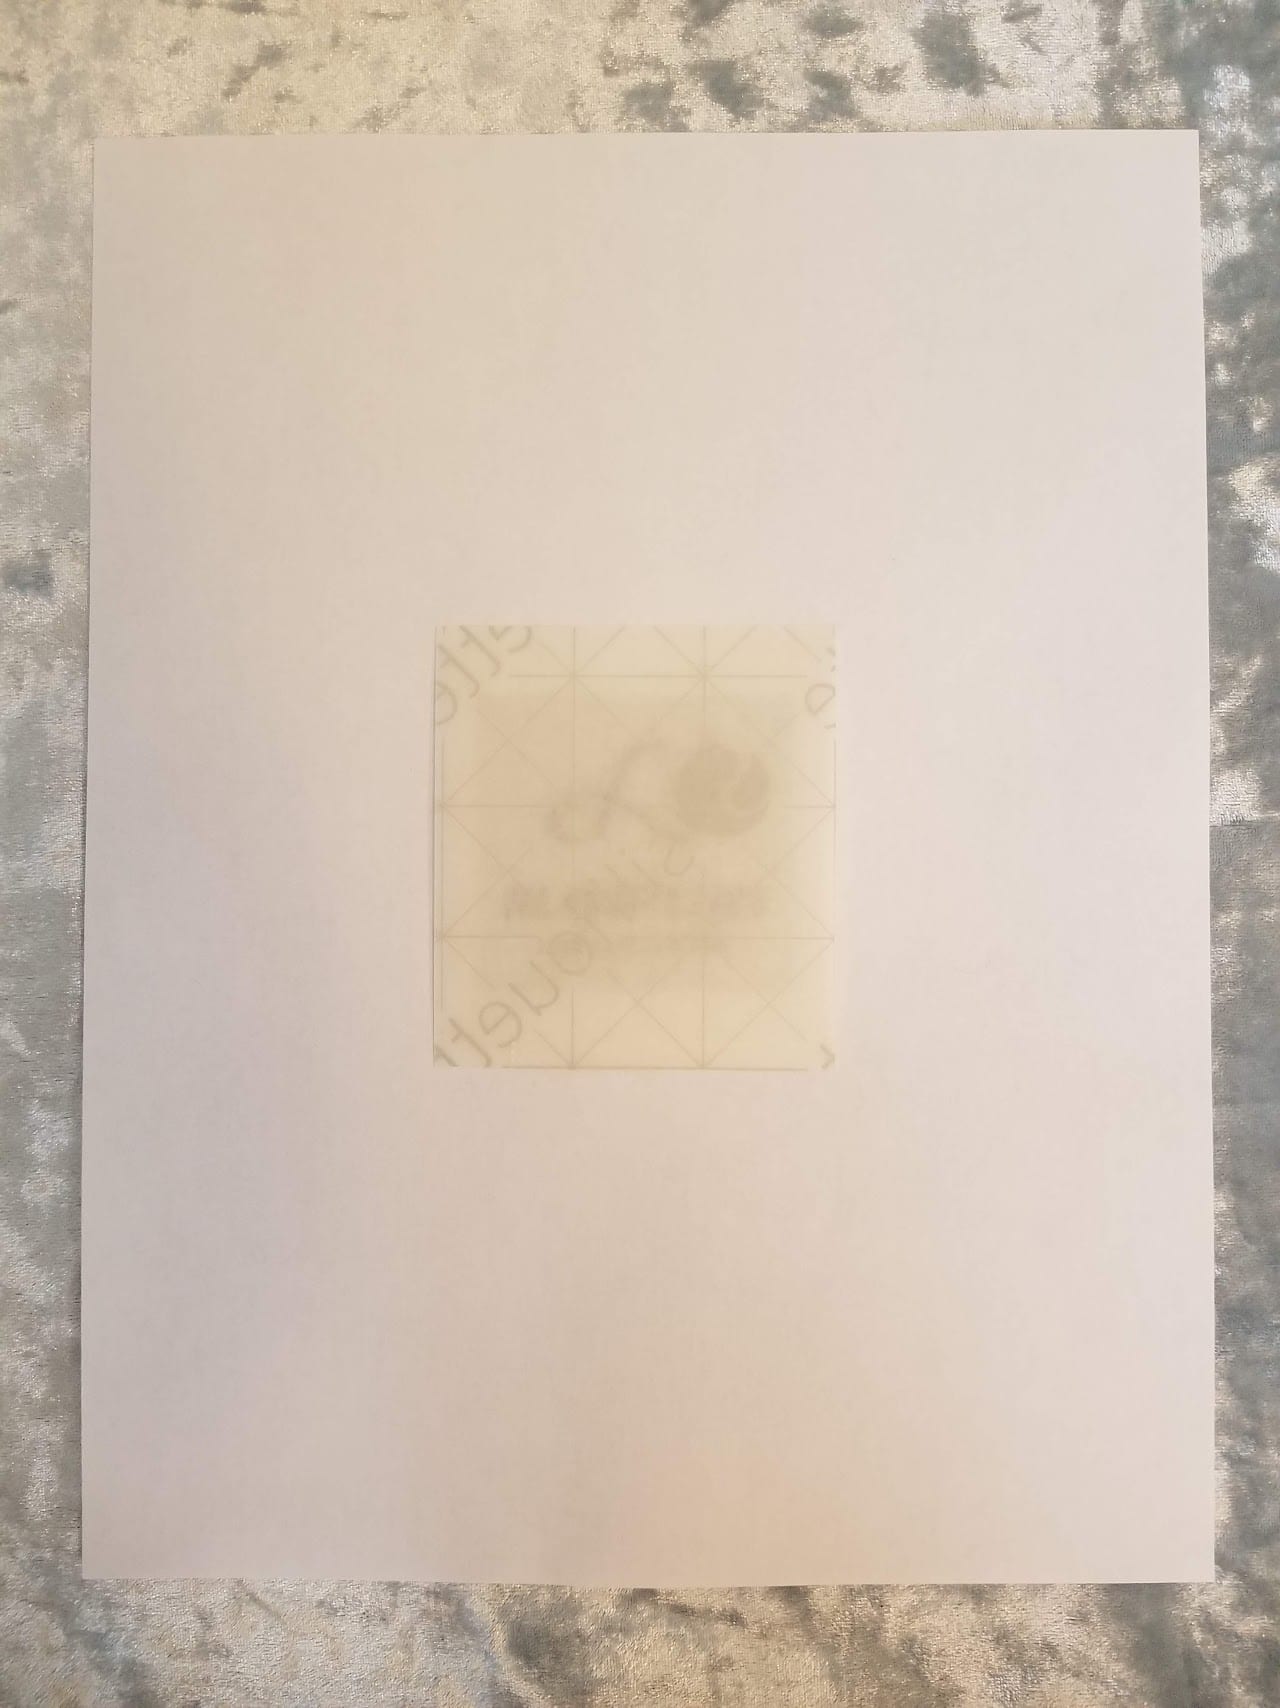
Step 3 — Tape the plastic over the print
Cut a piece of shrink plastic slightly larger than your printed image. Tape the plastic over the black-and-white print on the paper.
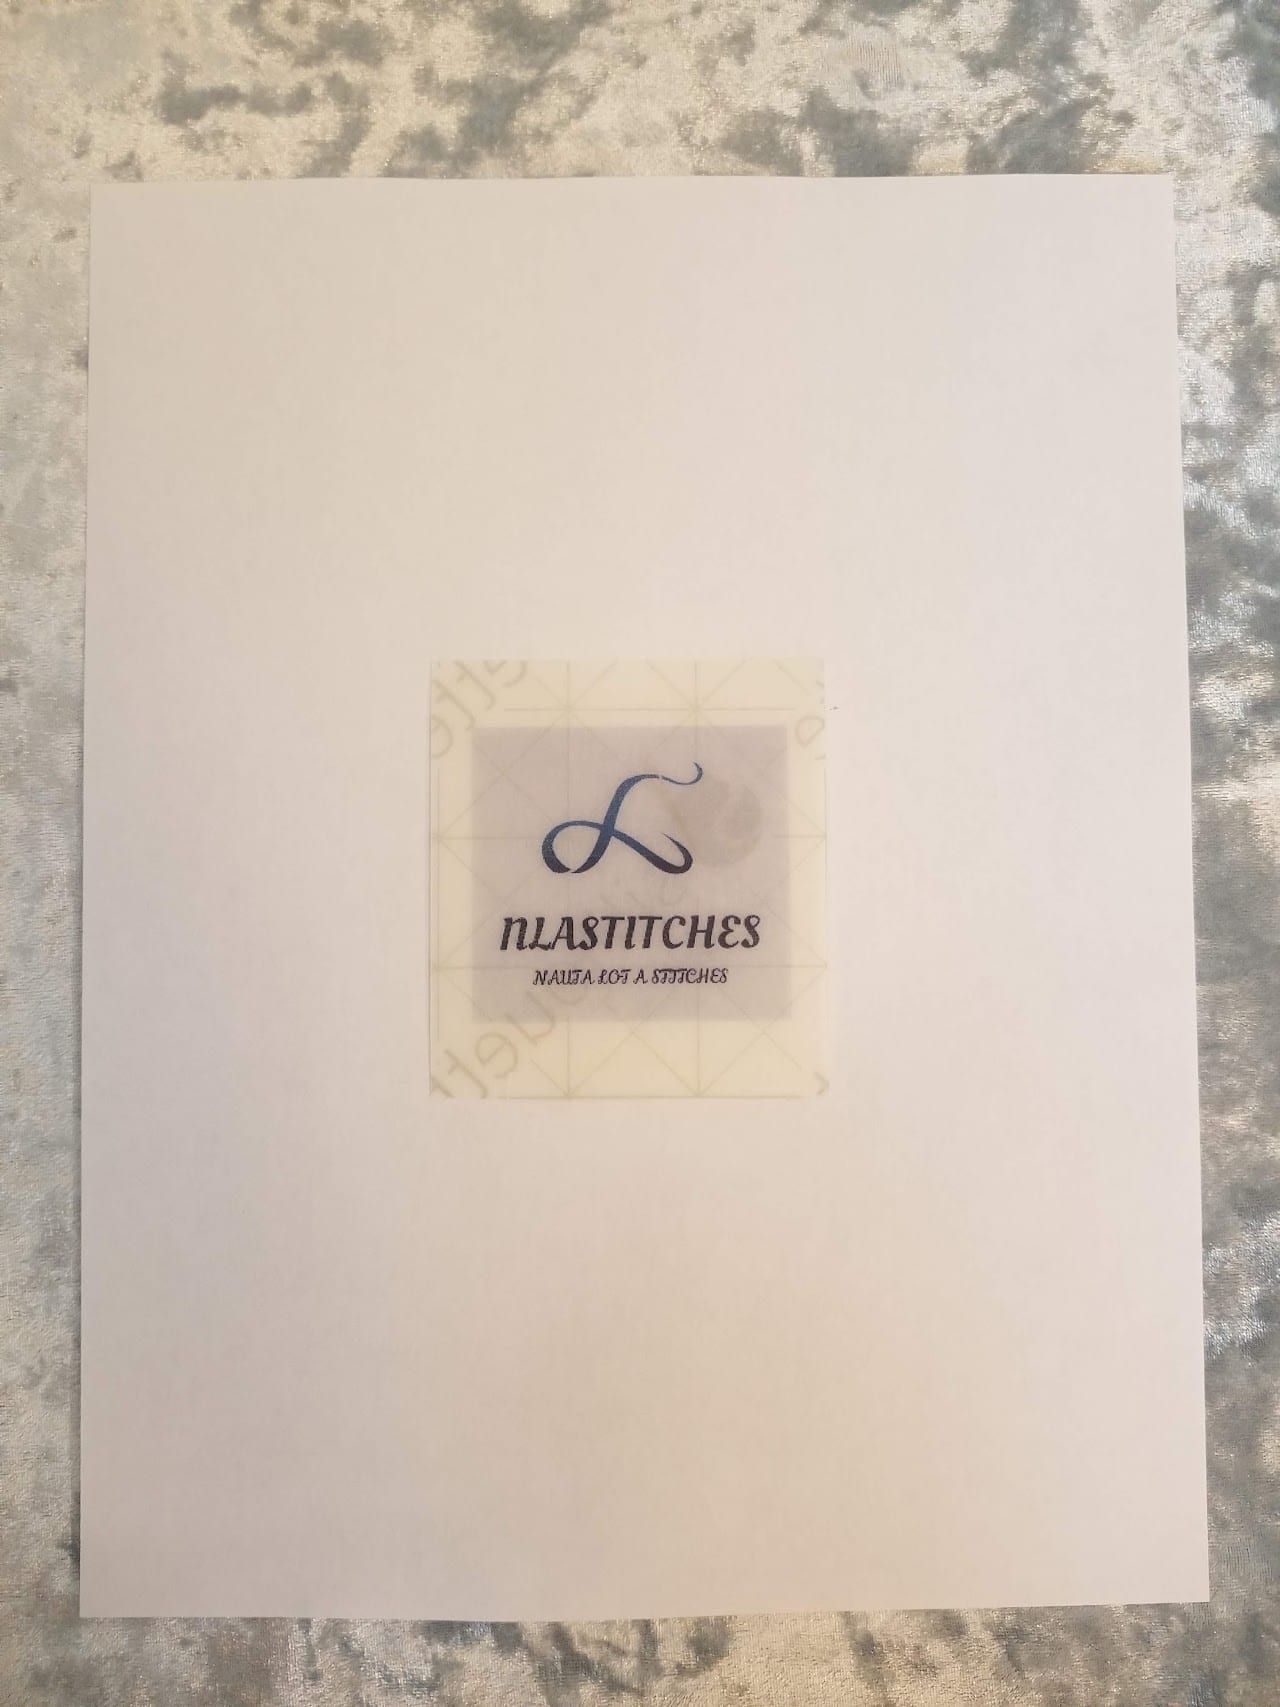
Step 4 — Print again, in color
Reinsert the paper into the printer and print the image in color, this time onto the shrink plastic.
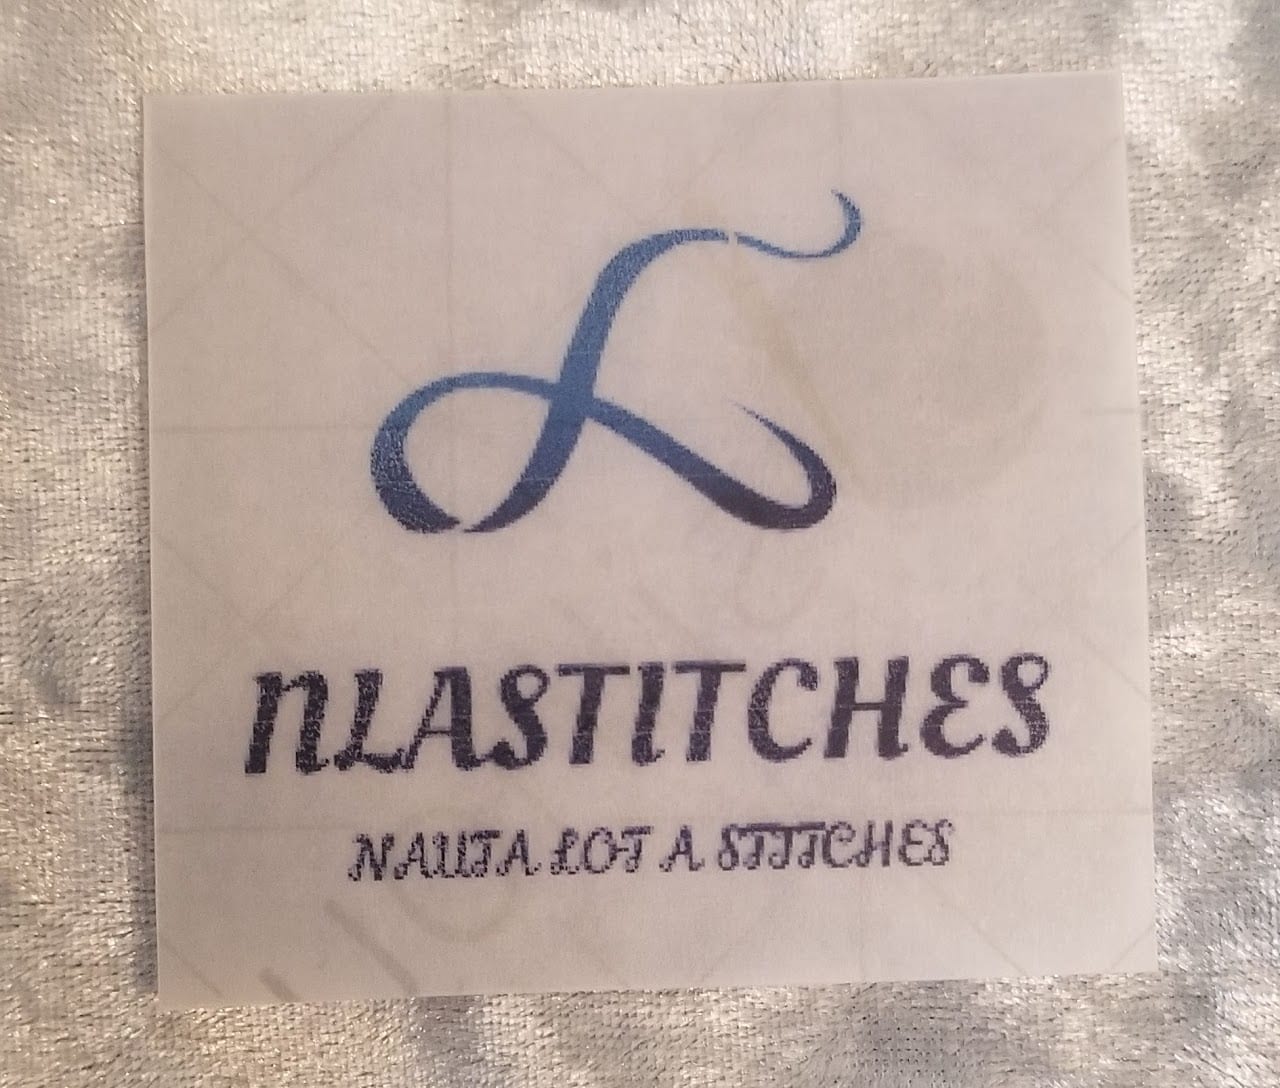
Step 5 — Trim and prep
Let the ink dry for a couple of minutes. Peel the shrink plastic off the paper and trim away any excess. If your shrink plastic came with a backing sheet, peel that off too.
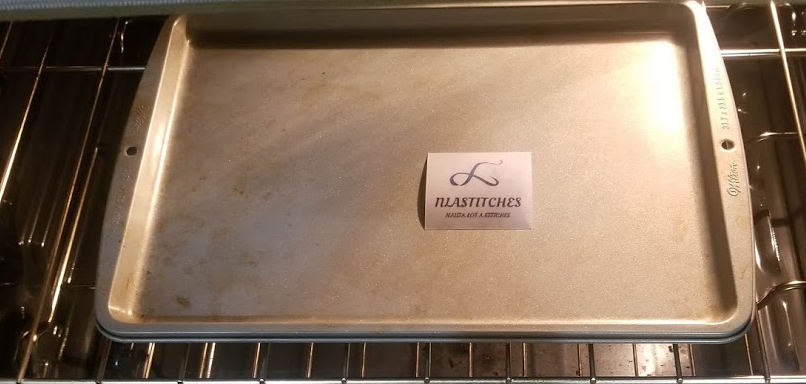
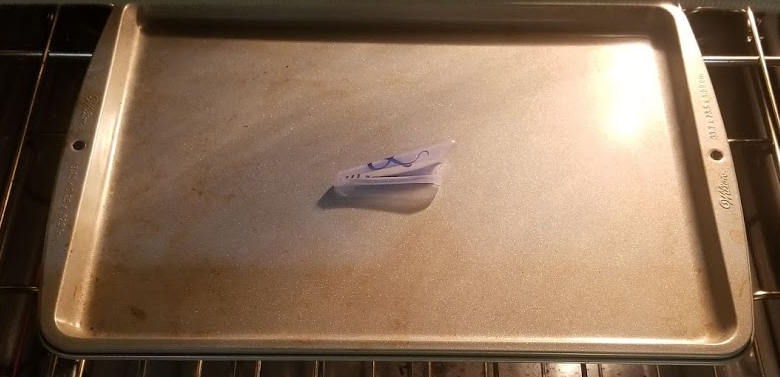
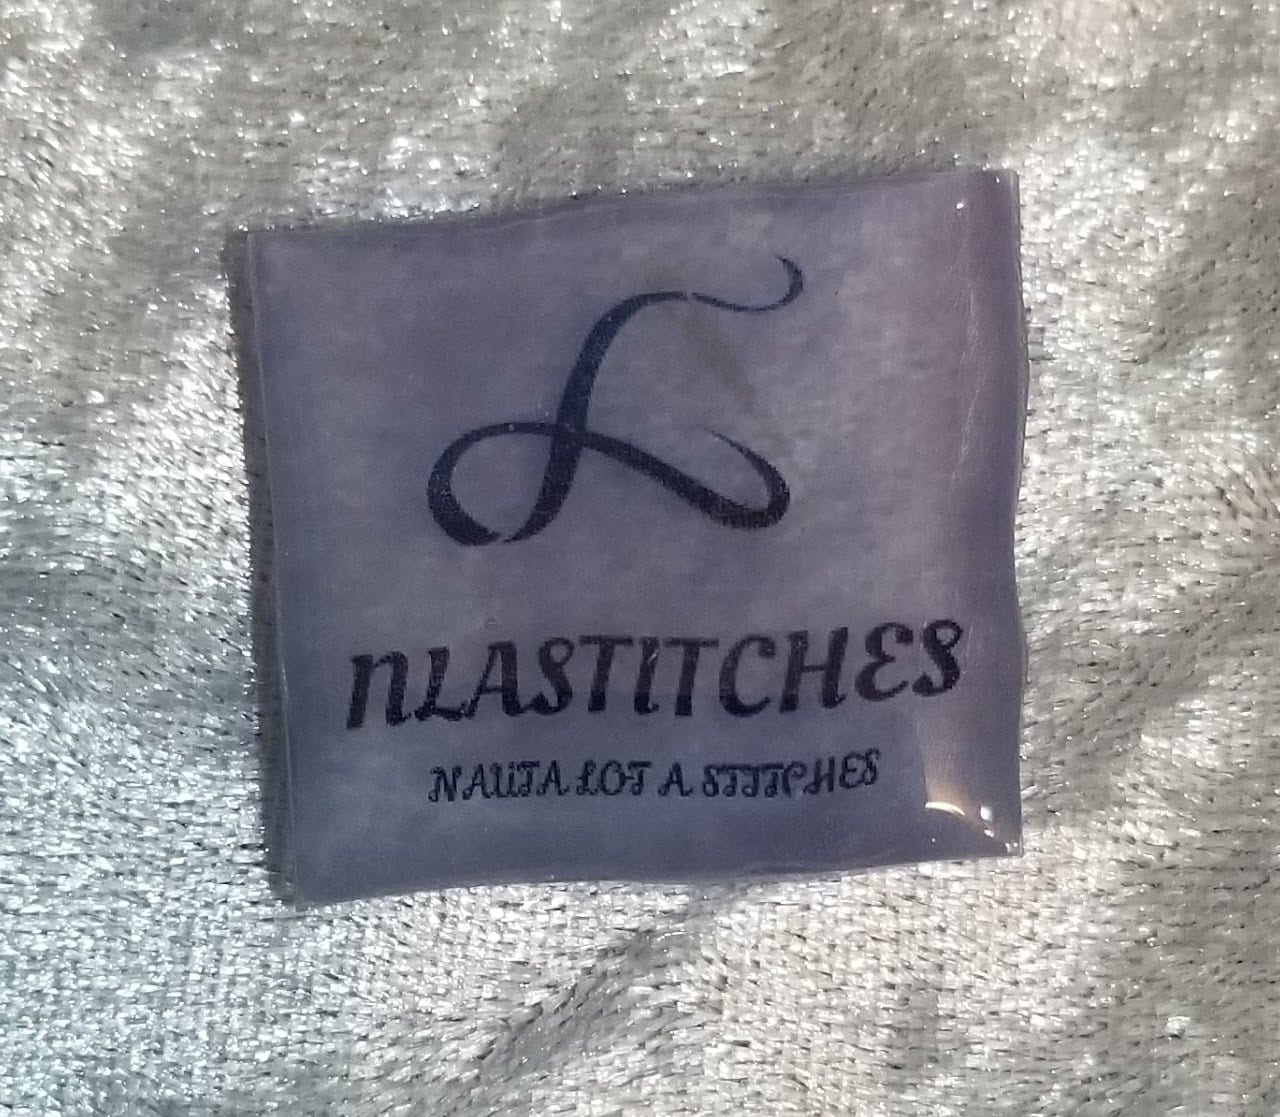
Step 6 — Bake it
Place the shrink plastic on a flat pan and put it in the oven. After about a minute it will start curling and shrinking. Once it begins to flatten back out, carefully reach in, pull out the pan, and peel off the back paper if you haven’t already. Return it to the oven until it lays completely flat — about 2–3 minutes total. Once it’s flat and stops twisting, count to 30, then pull the pan out.
Step 7 — Smooth the edges
Compare it to the original to make sure it shrunk evenly. If any edges are sharp, smooth them with sandpaper so they won’t snag your fabric.
Step 8 — Seal with UV resin (optional but recommended)
Sealing protects the ink. Put on your mask and gloves, and apply a few drops of UV resin to the front of the shrink plastic.
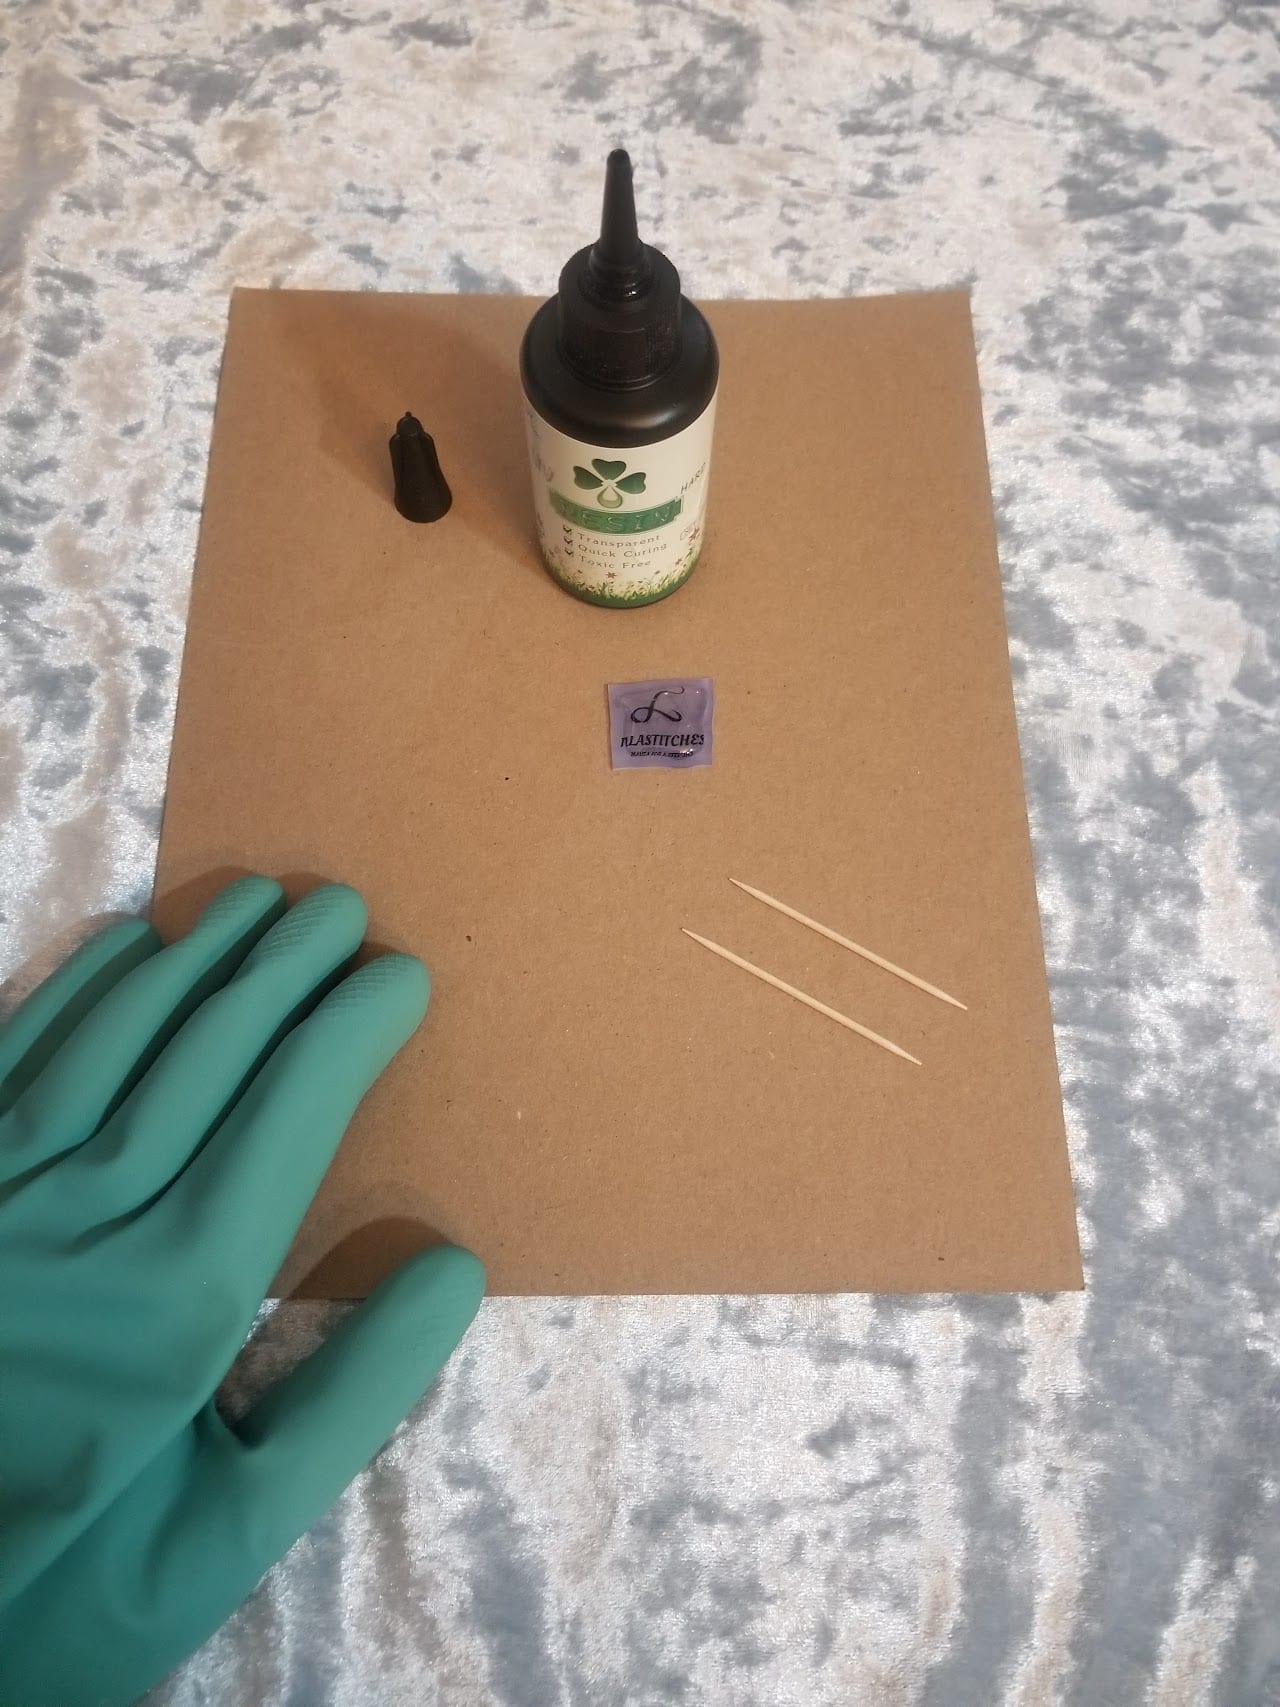
Step 9 — Spread it out
Use a toothpick to spread the resin evenly across the entire image, popping any bubbles as you go. The resin doesn’t need to be thick — the manufacturer recommends no thicker than 4mm.

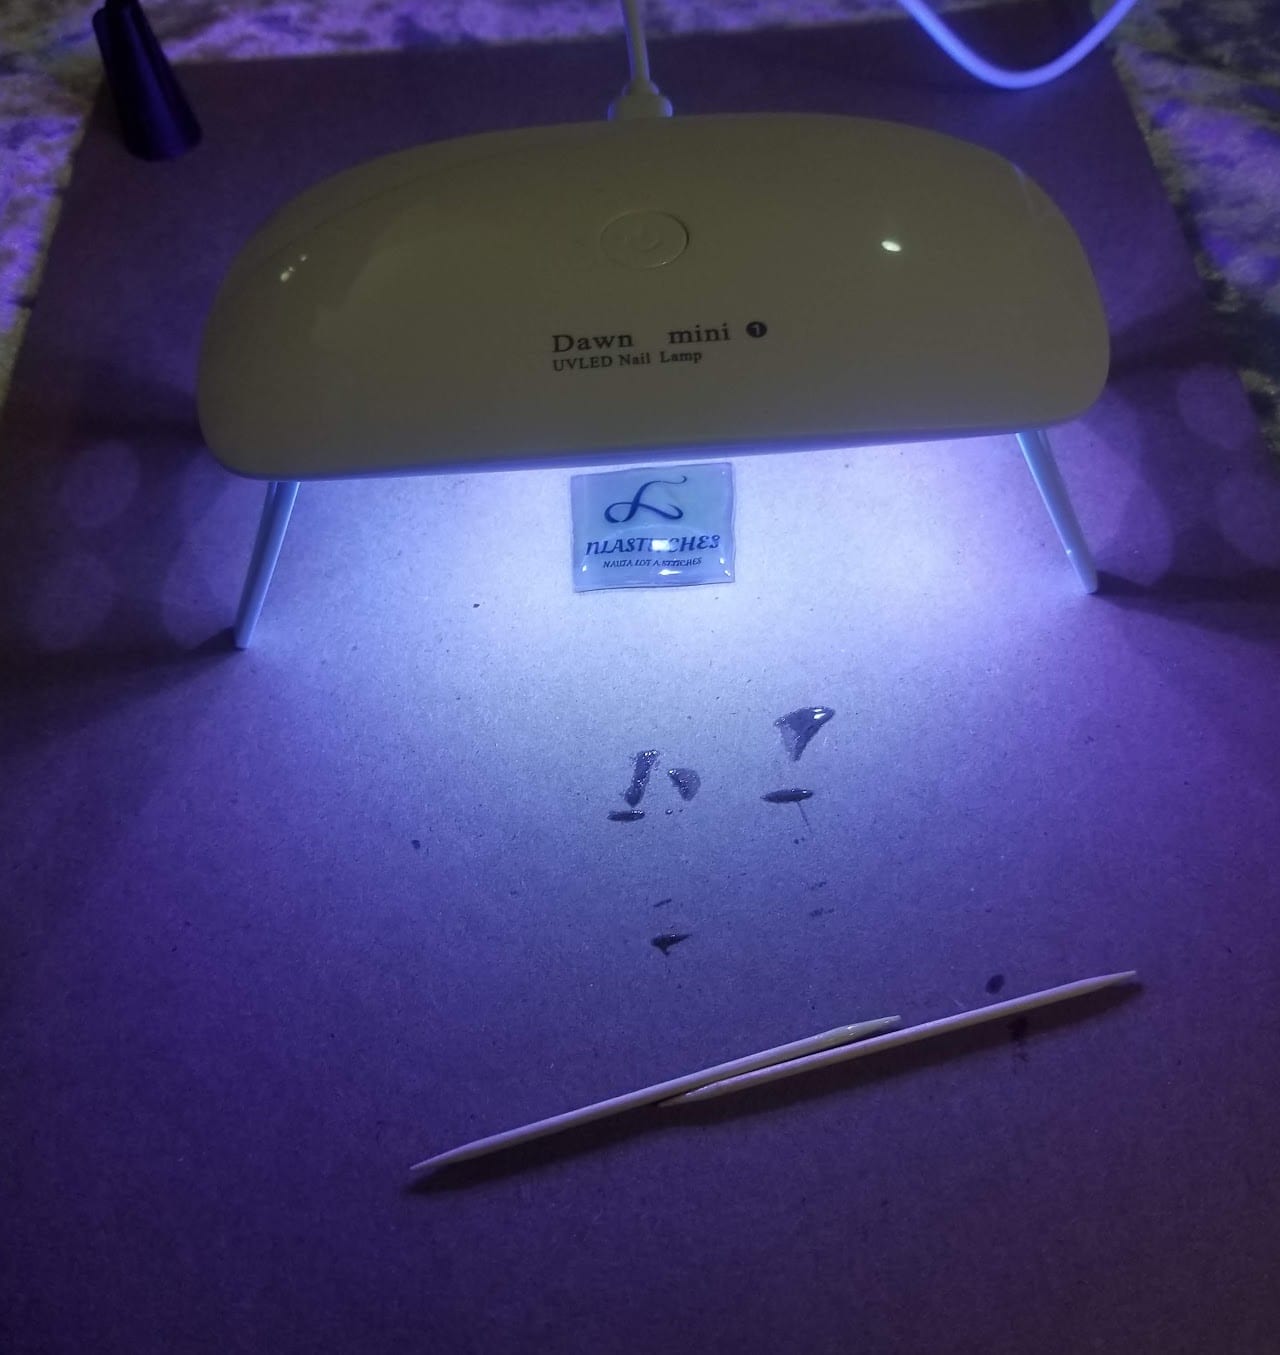
Step 10 — Cure under UV
Set your UV LED lamp over the piece for 1–2 minutes. If you’re using sunlight instead:
- Sunny day: 10–15 minutes
- Cloudy day: 30–60 minutes
Step 11 — (Optional) Second coat
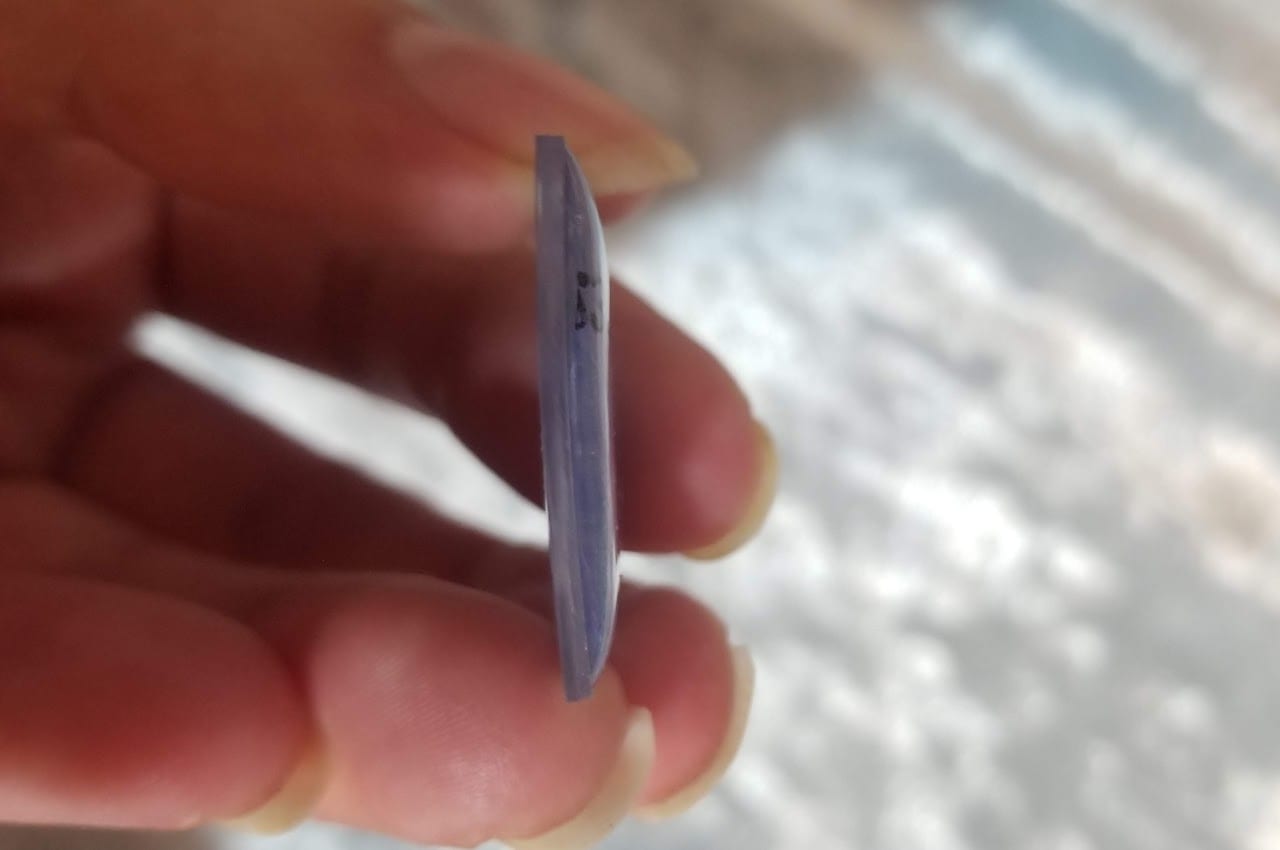
Look at the cured piece from the side — you’ll see a glossy clear bubble has formed over the ink. You can apply a second coat for extra protection. I usually do two.
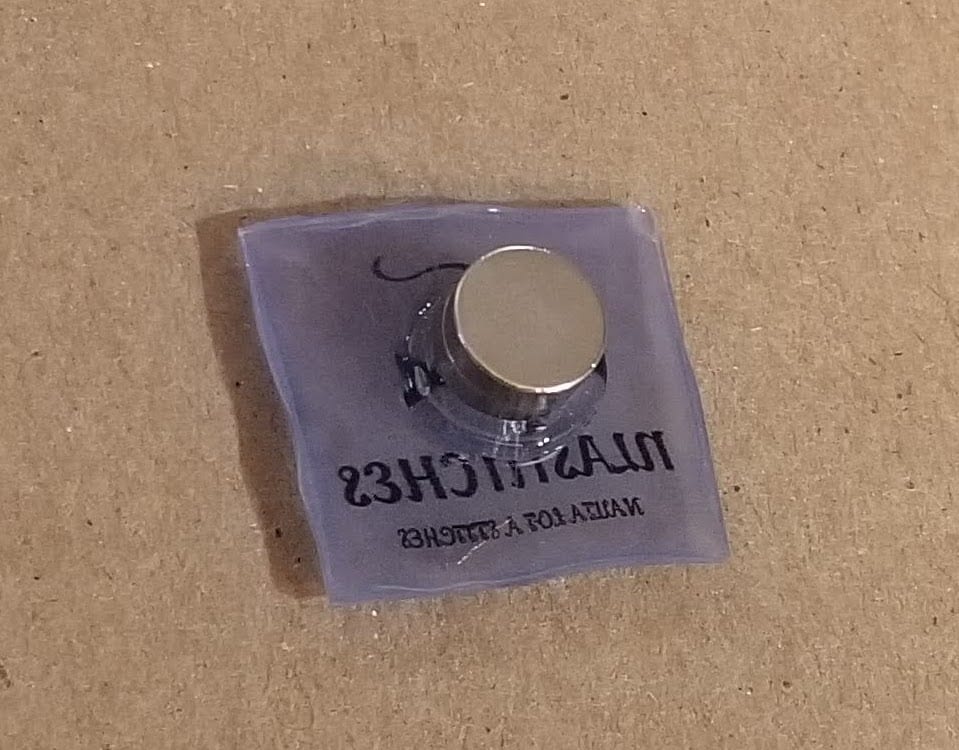
Step 12 — Glue the magnet
Place the finished piece face down on cardboard, apply E6000, and press a magnet onto the back.
Tip: if the glue doesn’t come out in a clean dot, spread it around with a toothpick.
Step 13 — Cure
Cure for at least 4 hours, ideally 24, with full strength taking up to 72.
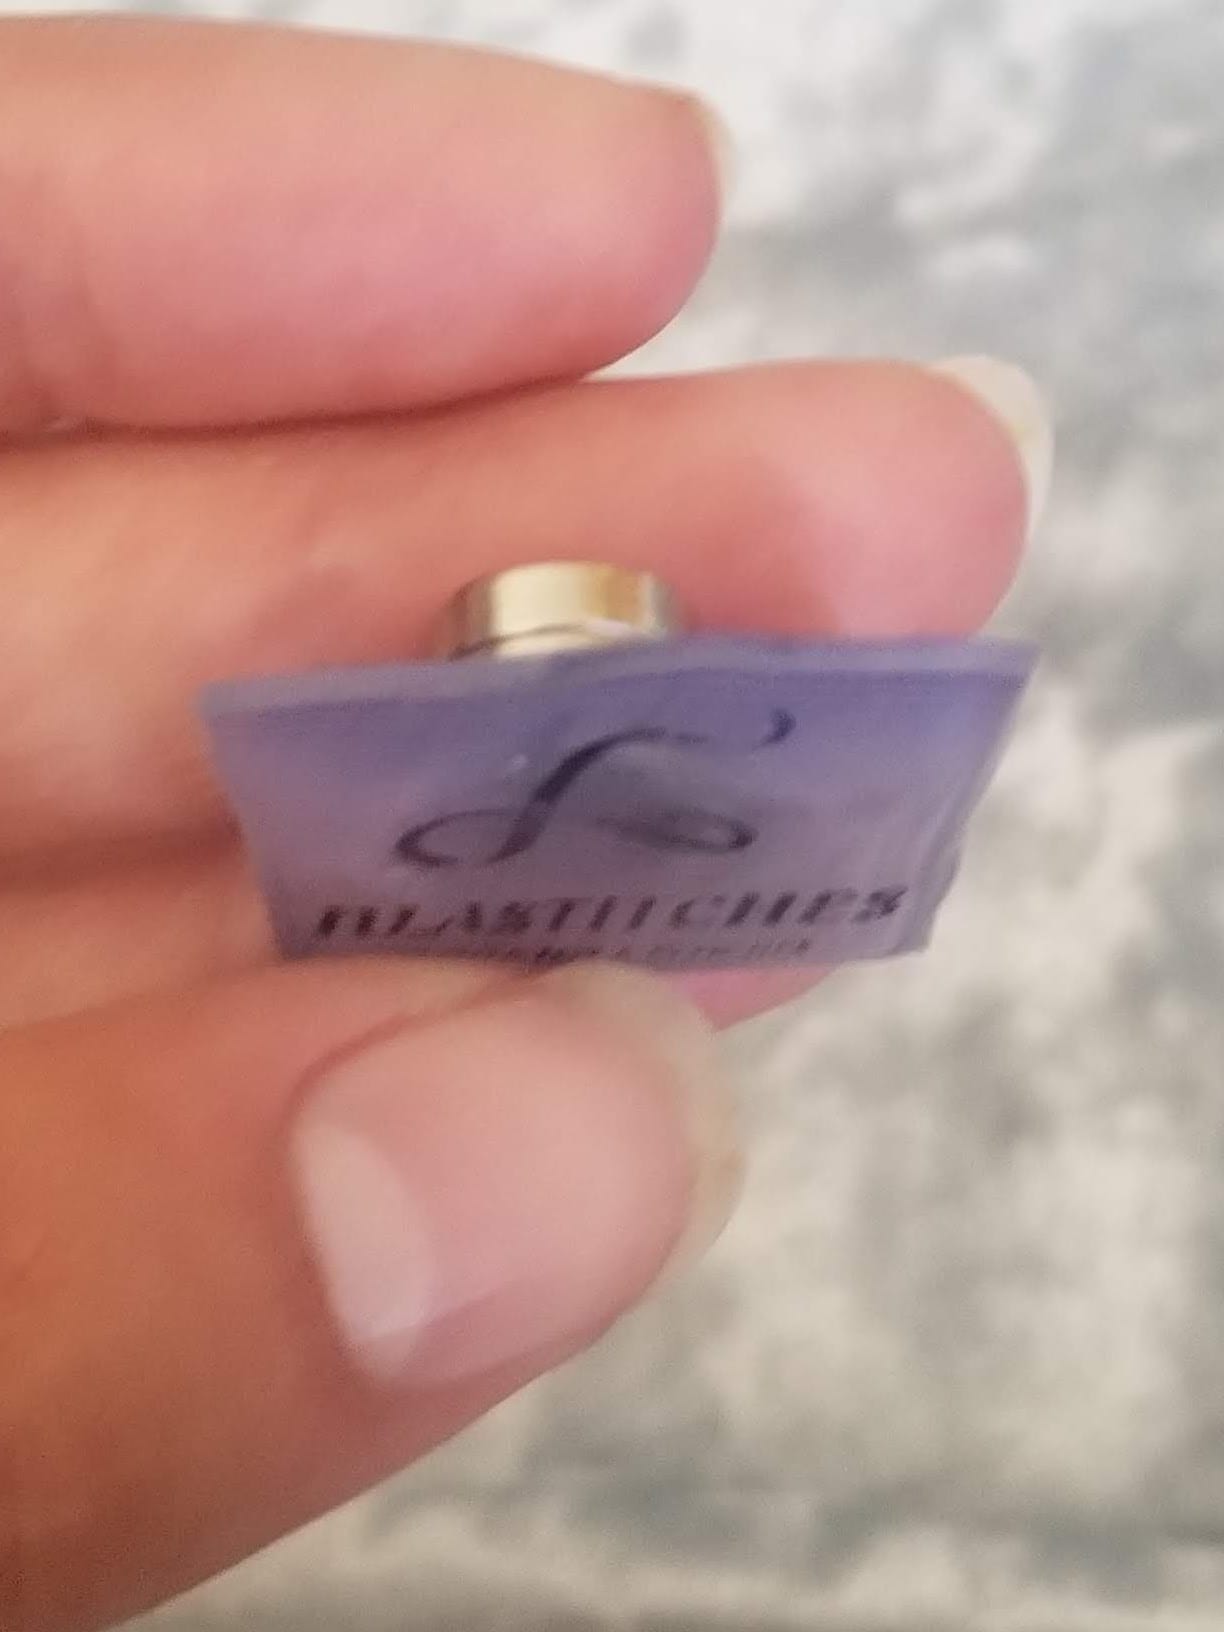
You now have a beautiful needleminder to use on your stitching pieces. Have fun!