Tea & Coffee Dying Fabric
How I dye cross stitch fabric with tea bags and leftover coffee grounds to get a warm, mottled, vintage look.
May 31, 2026
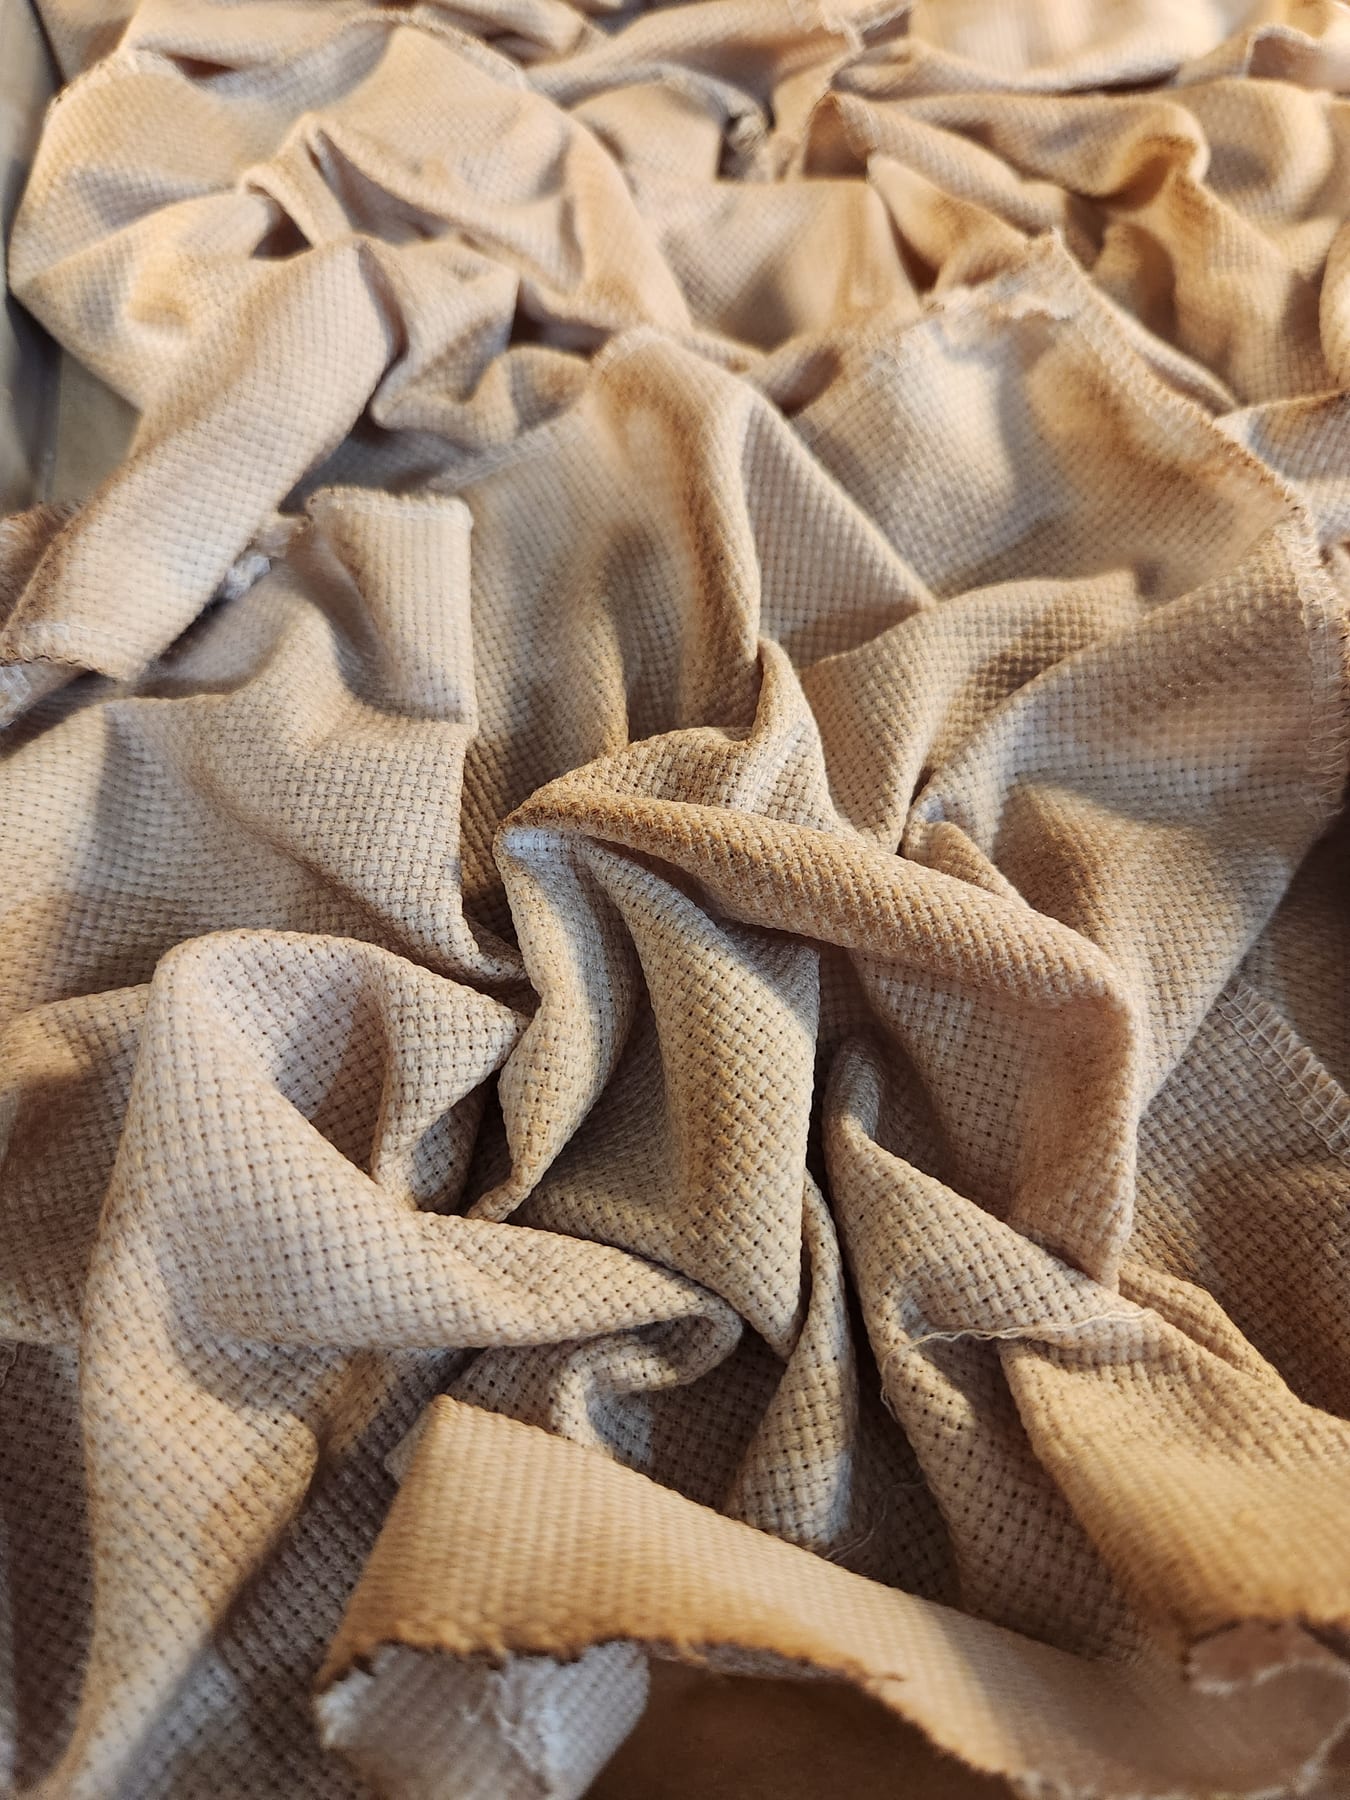
If you want fabric with a warm, vintage feel — like an old sampler — tea and coffee dying is the easiest way to get there. The mottling you get from scrunching the fabric and baking it dry is the best part.
If you’ve never dyed this particular fabric before, do a small test piece first. Different fabrics take the color differently.
What you’ll need
- Plain fabric (this batch was about a yard)
- A pot of water — I use a craft-only pot. Dye can leave marks on the inside, and I reuse this same pot for other crafting projects
- 5 tea bags (adjust for the amount of fabric — use fewer for smaller pieces)
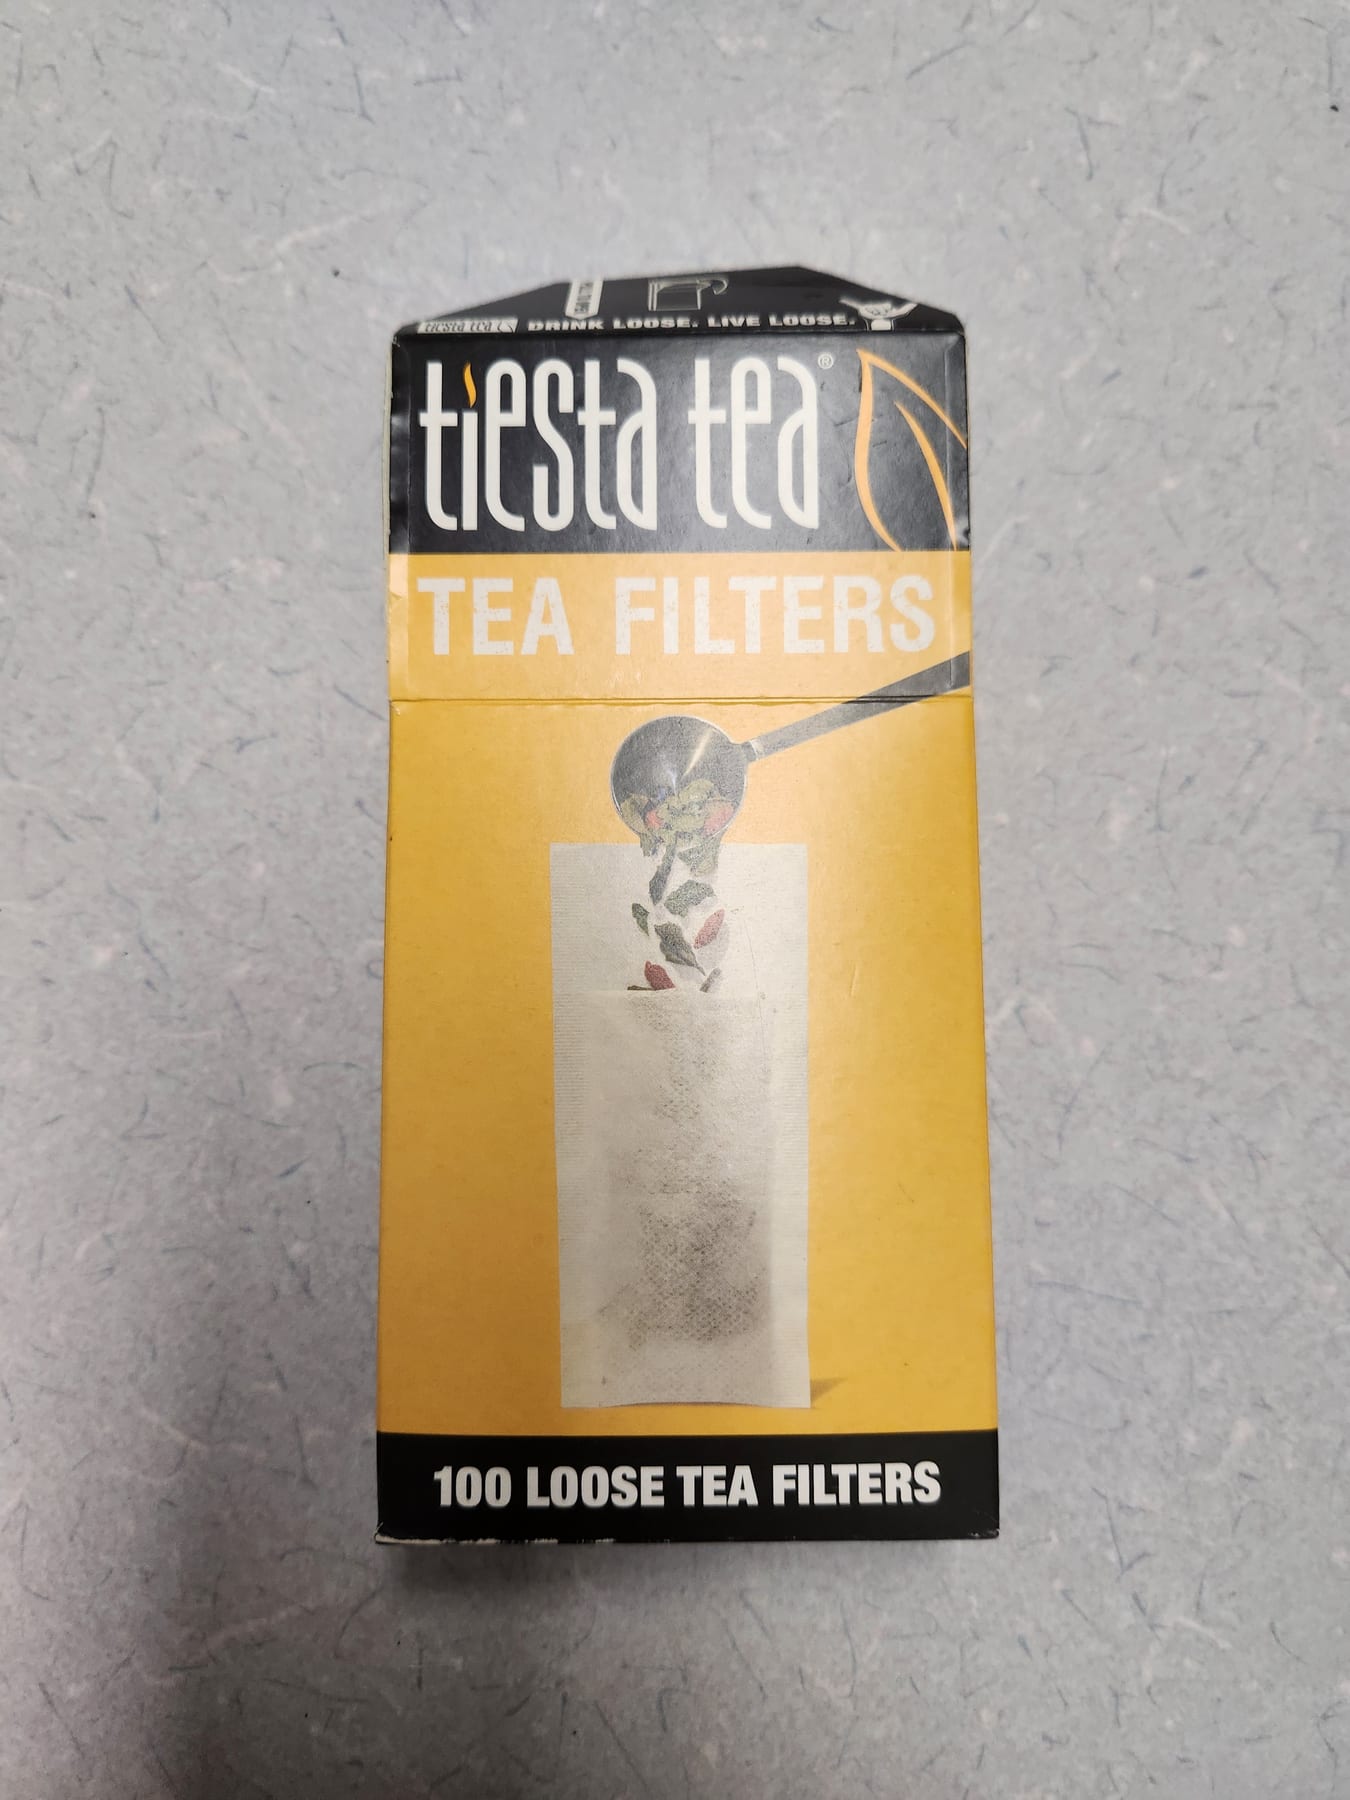
- 2 bags of coffee grounds (optional) — I save the grounds from my morning coffee and put them in tea filters
- Tongs
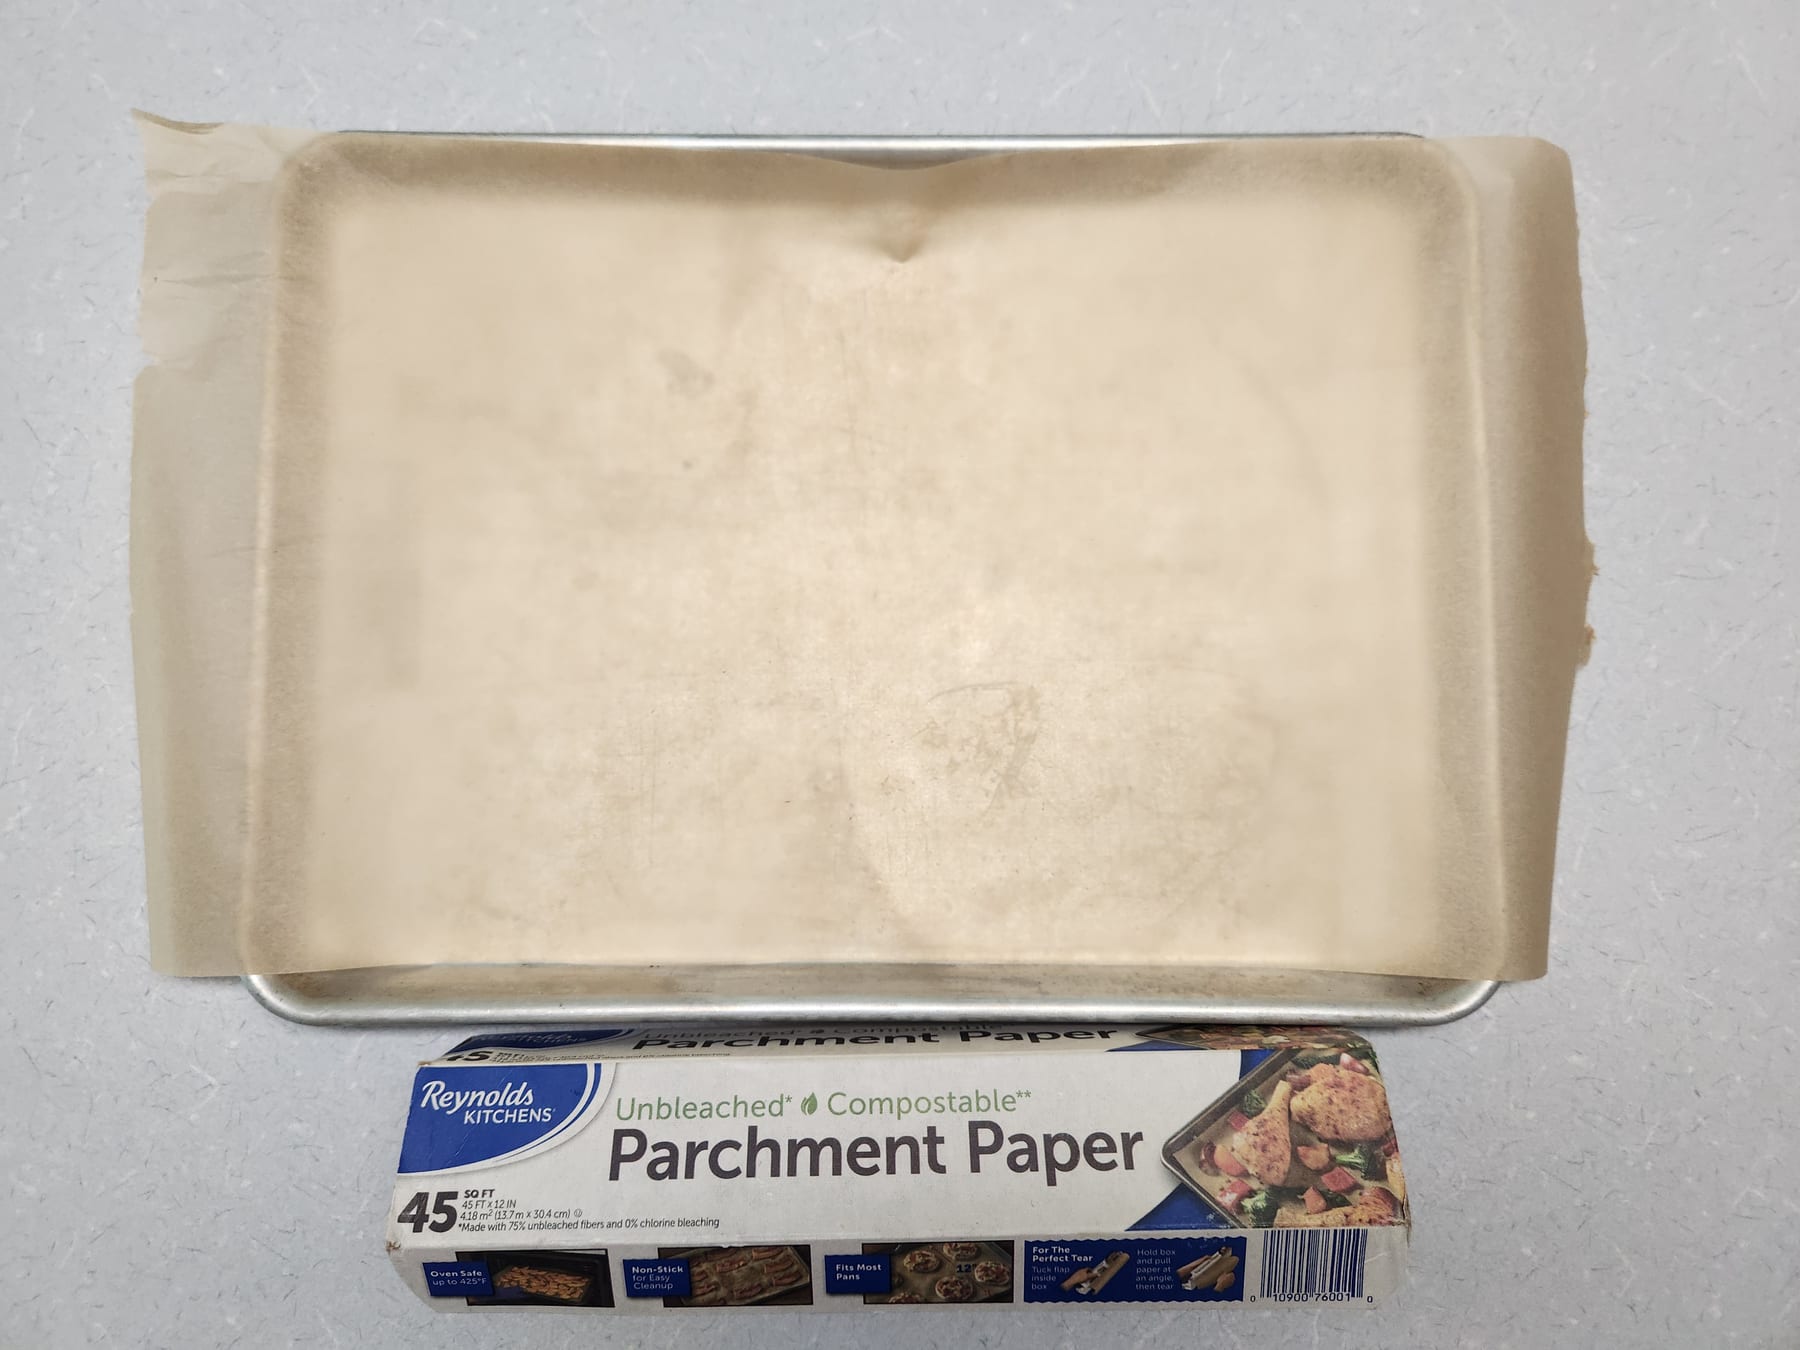
- A baking sheet
- Parchment paper
- An oven

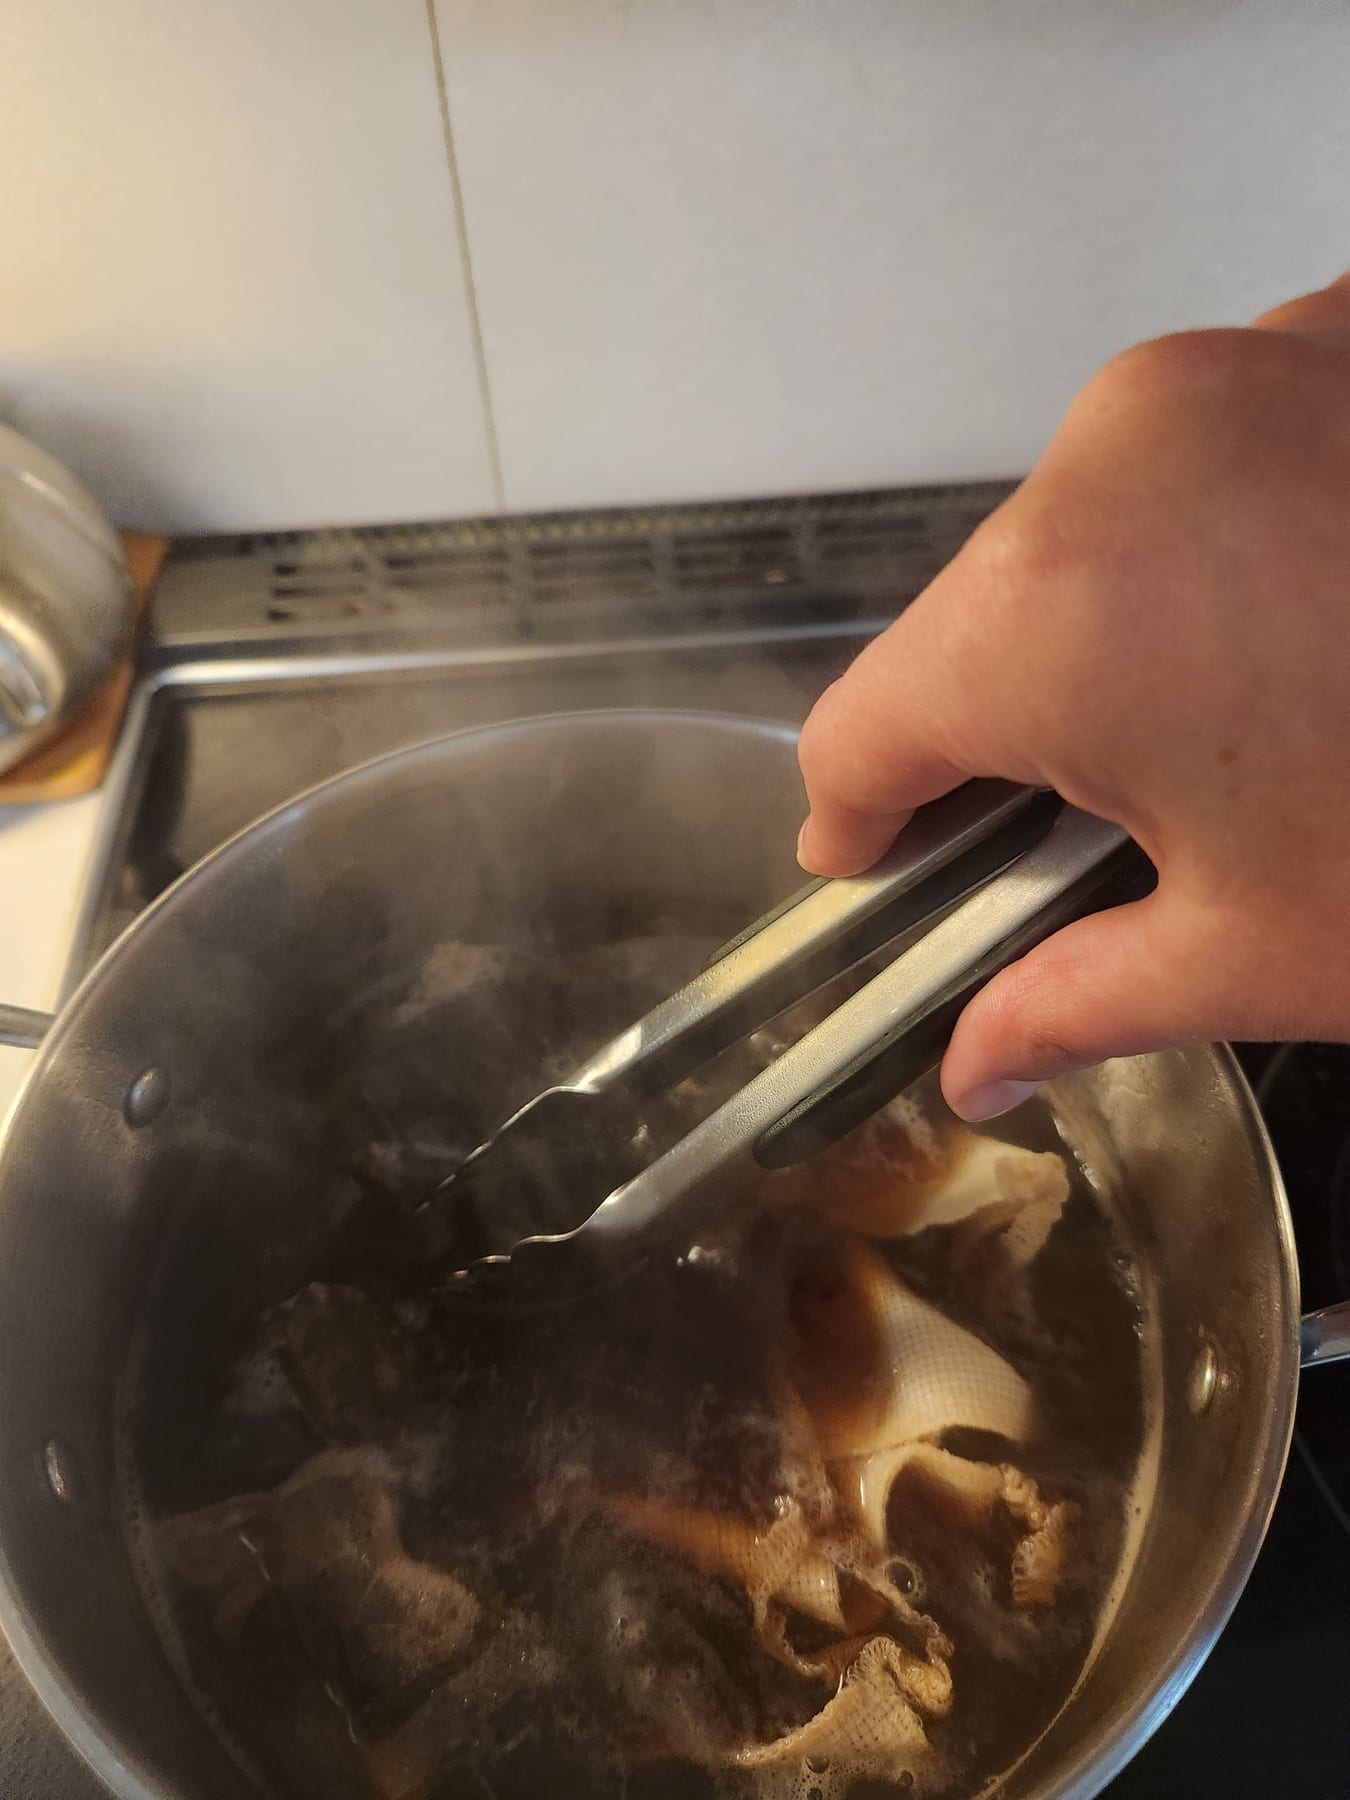
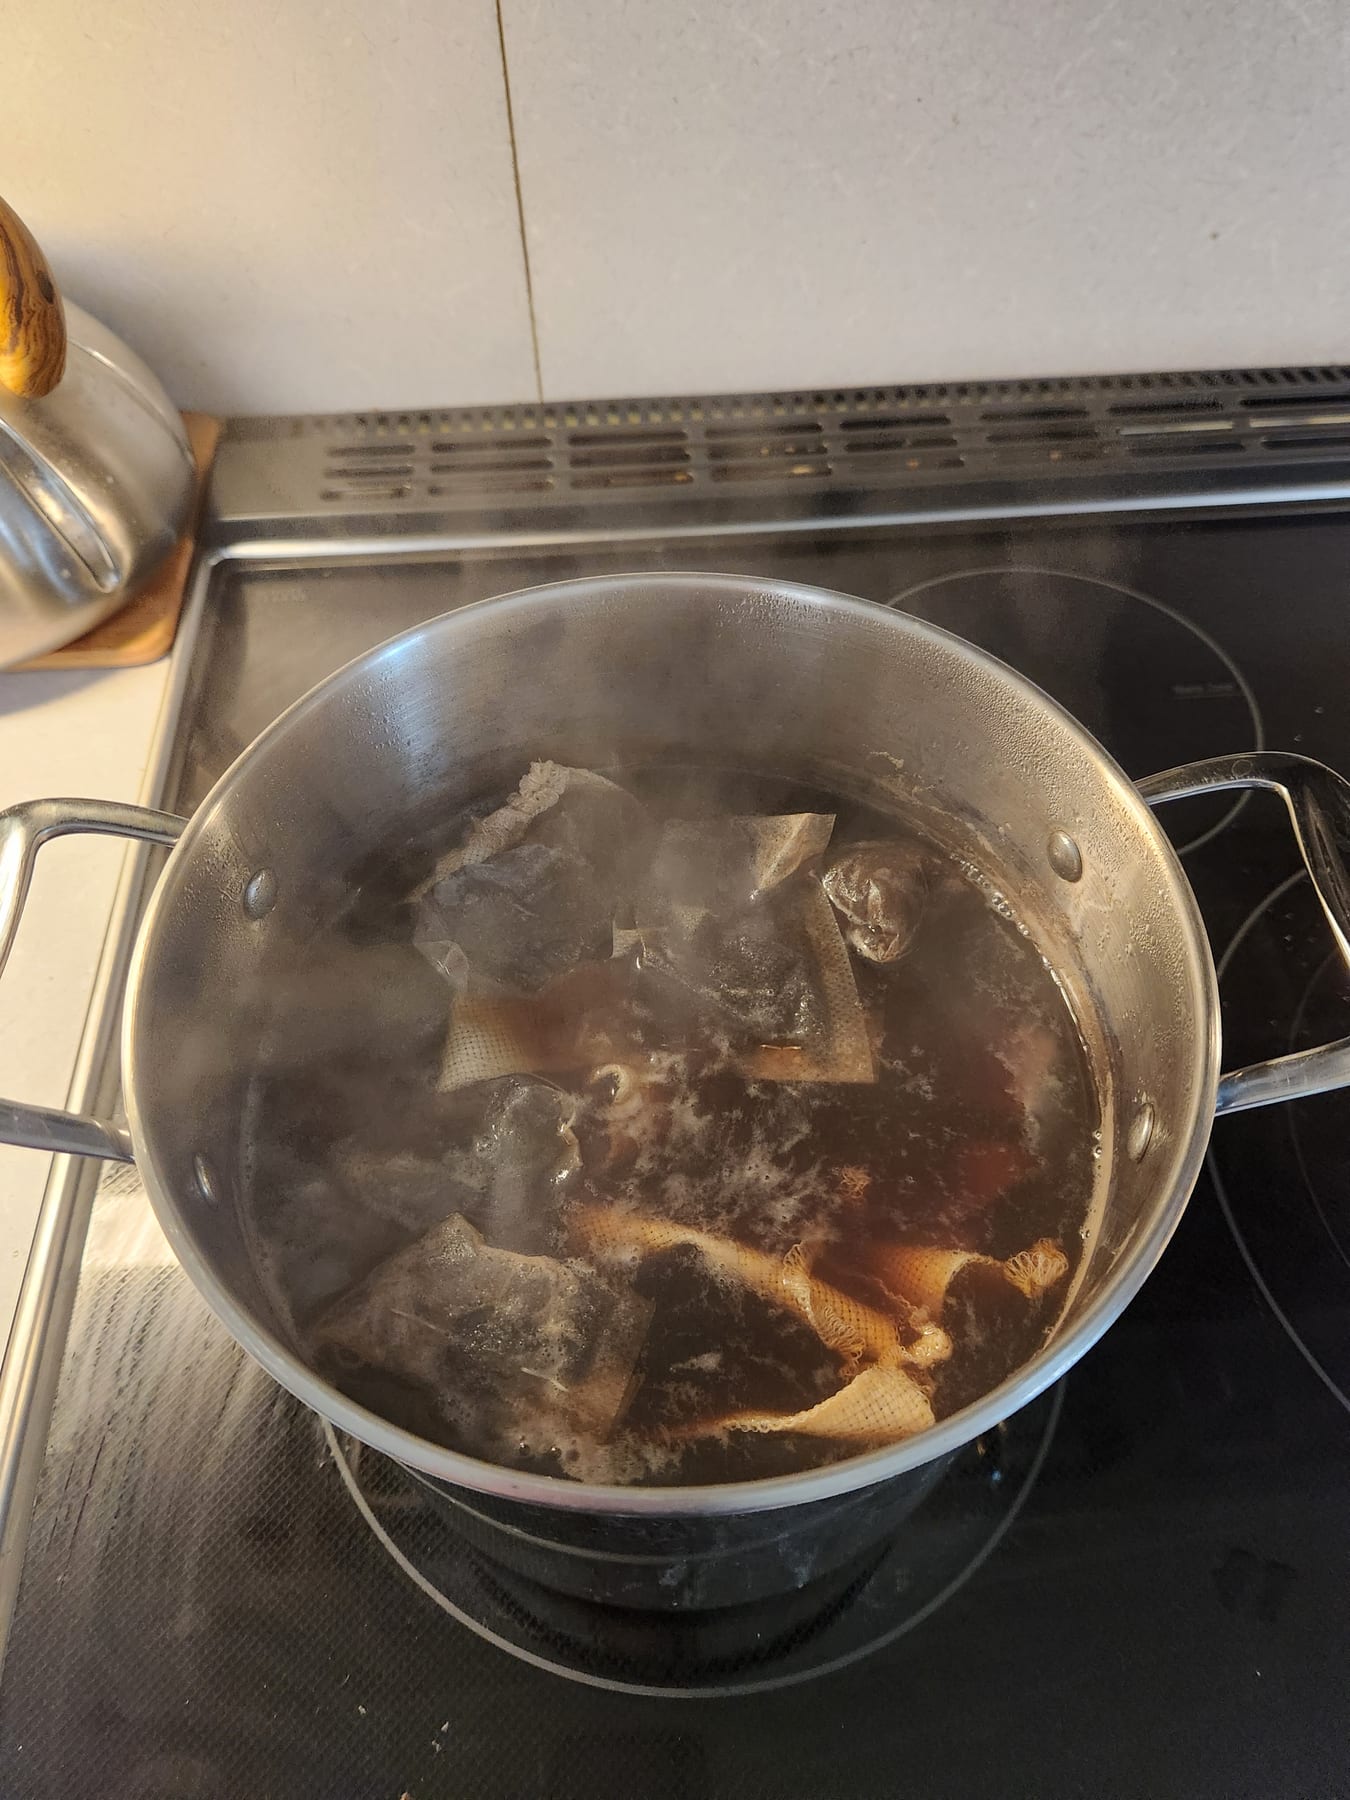
Step 1 — Brew the dye
Bring a pot of water to a boil, then turn it down to a simmer. Drop in your tea bags (and coffee filter bags, if you’re using them). For about a yard of fabric I use 5 tea bags and 2 bags of coffee grounds. Use less if you’re dying less fabric.
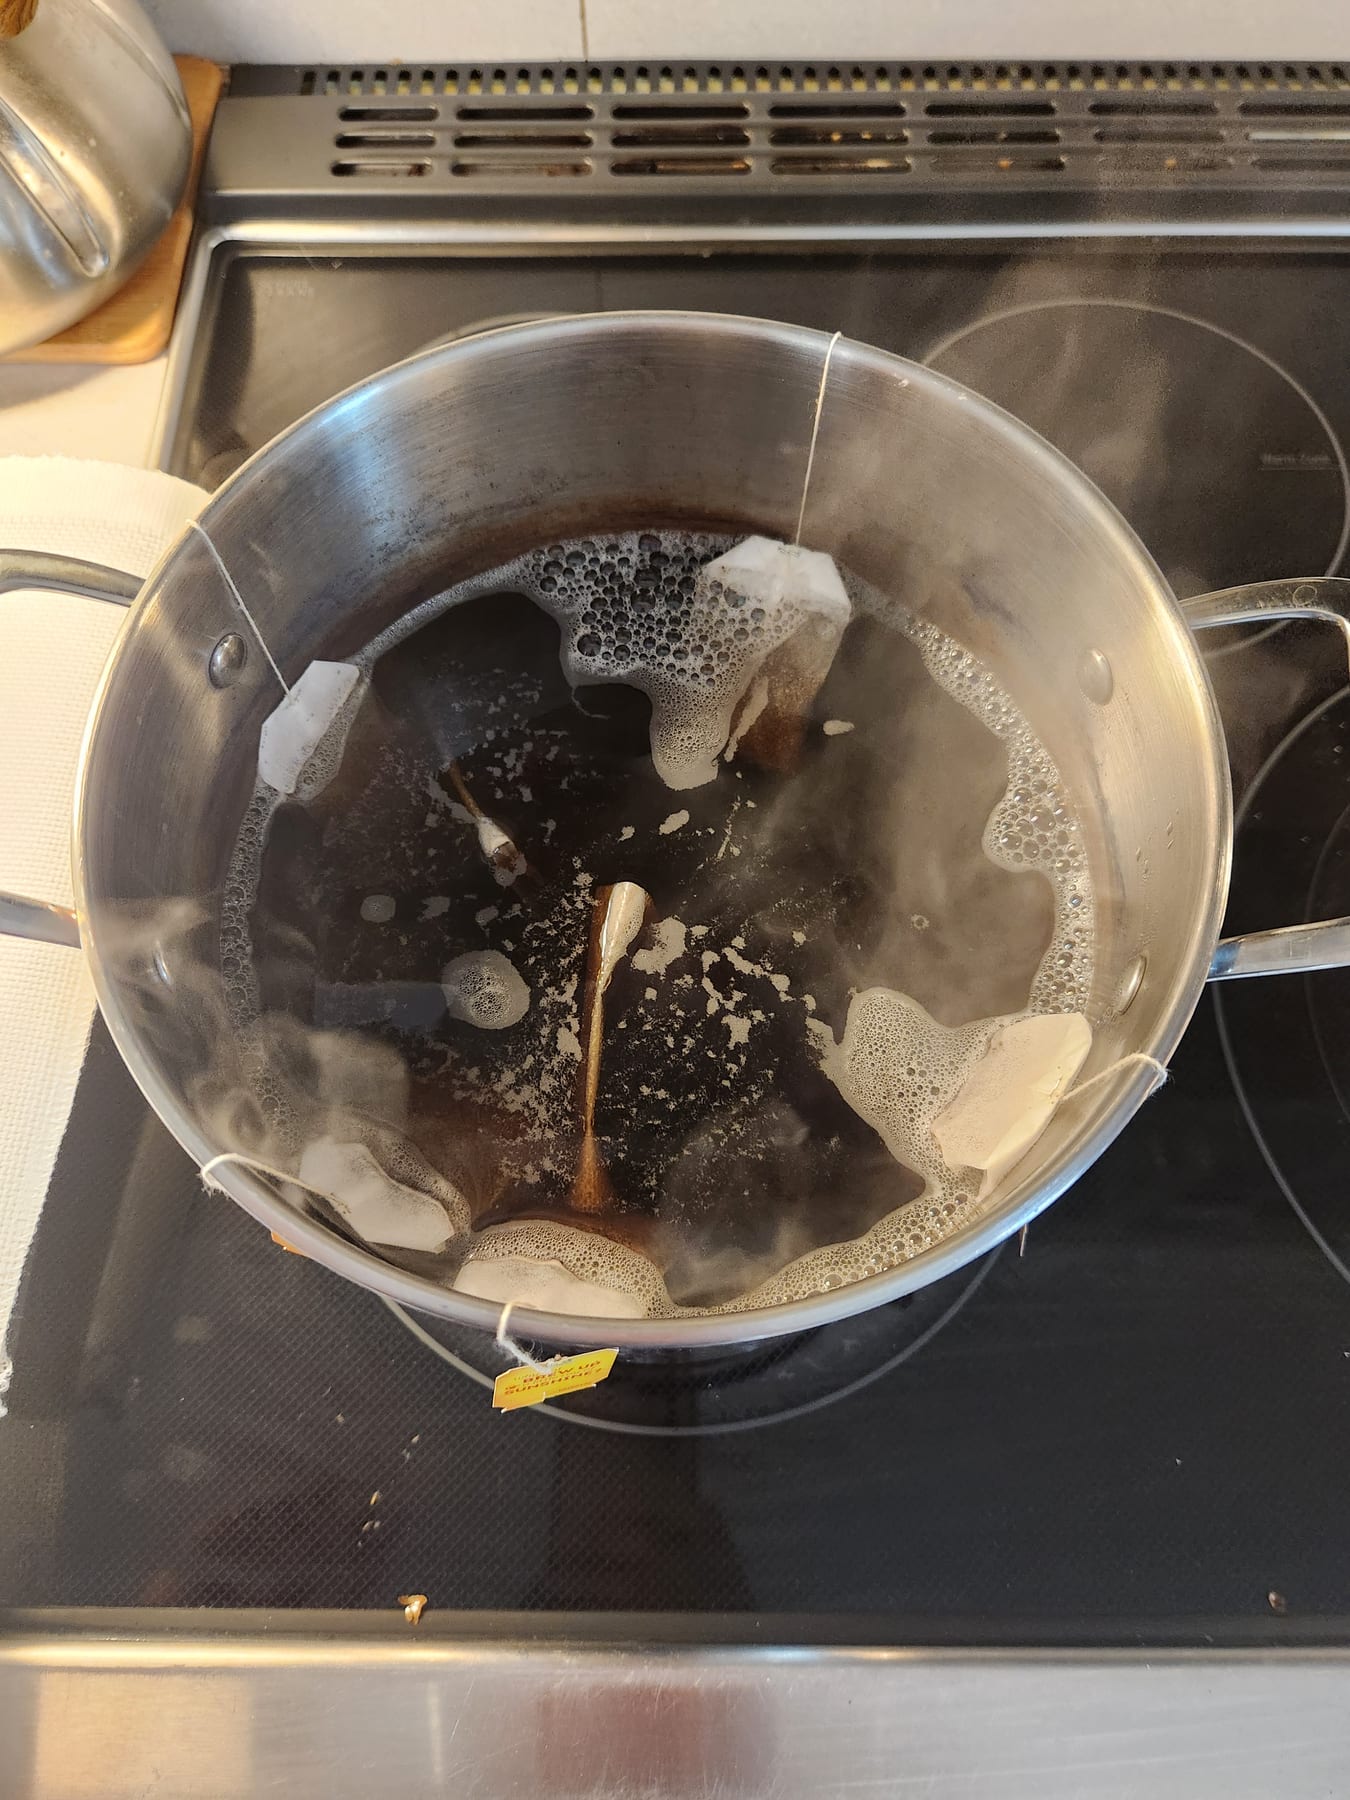
Try not to break the tea bags. Picking loose tea leaves off the fabric afterward is a pain.
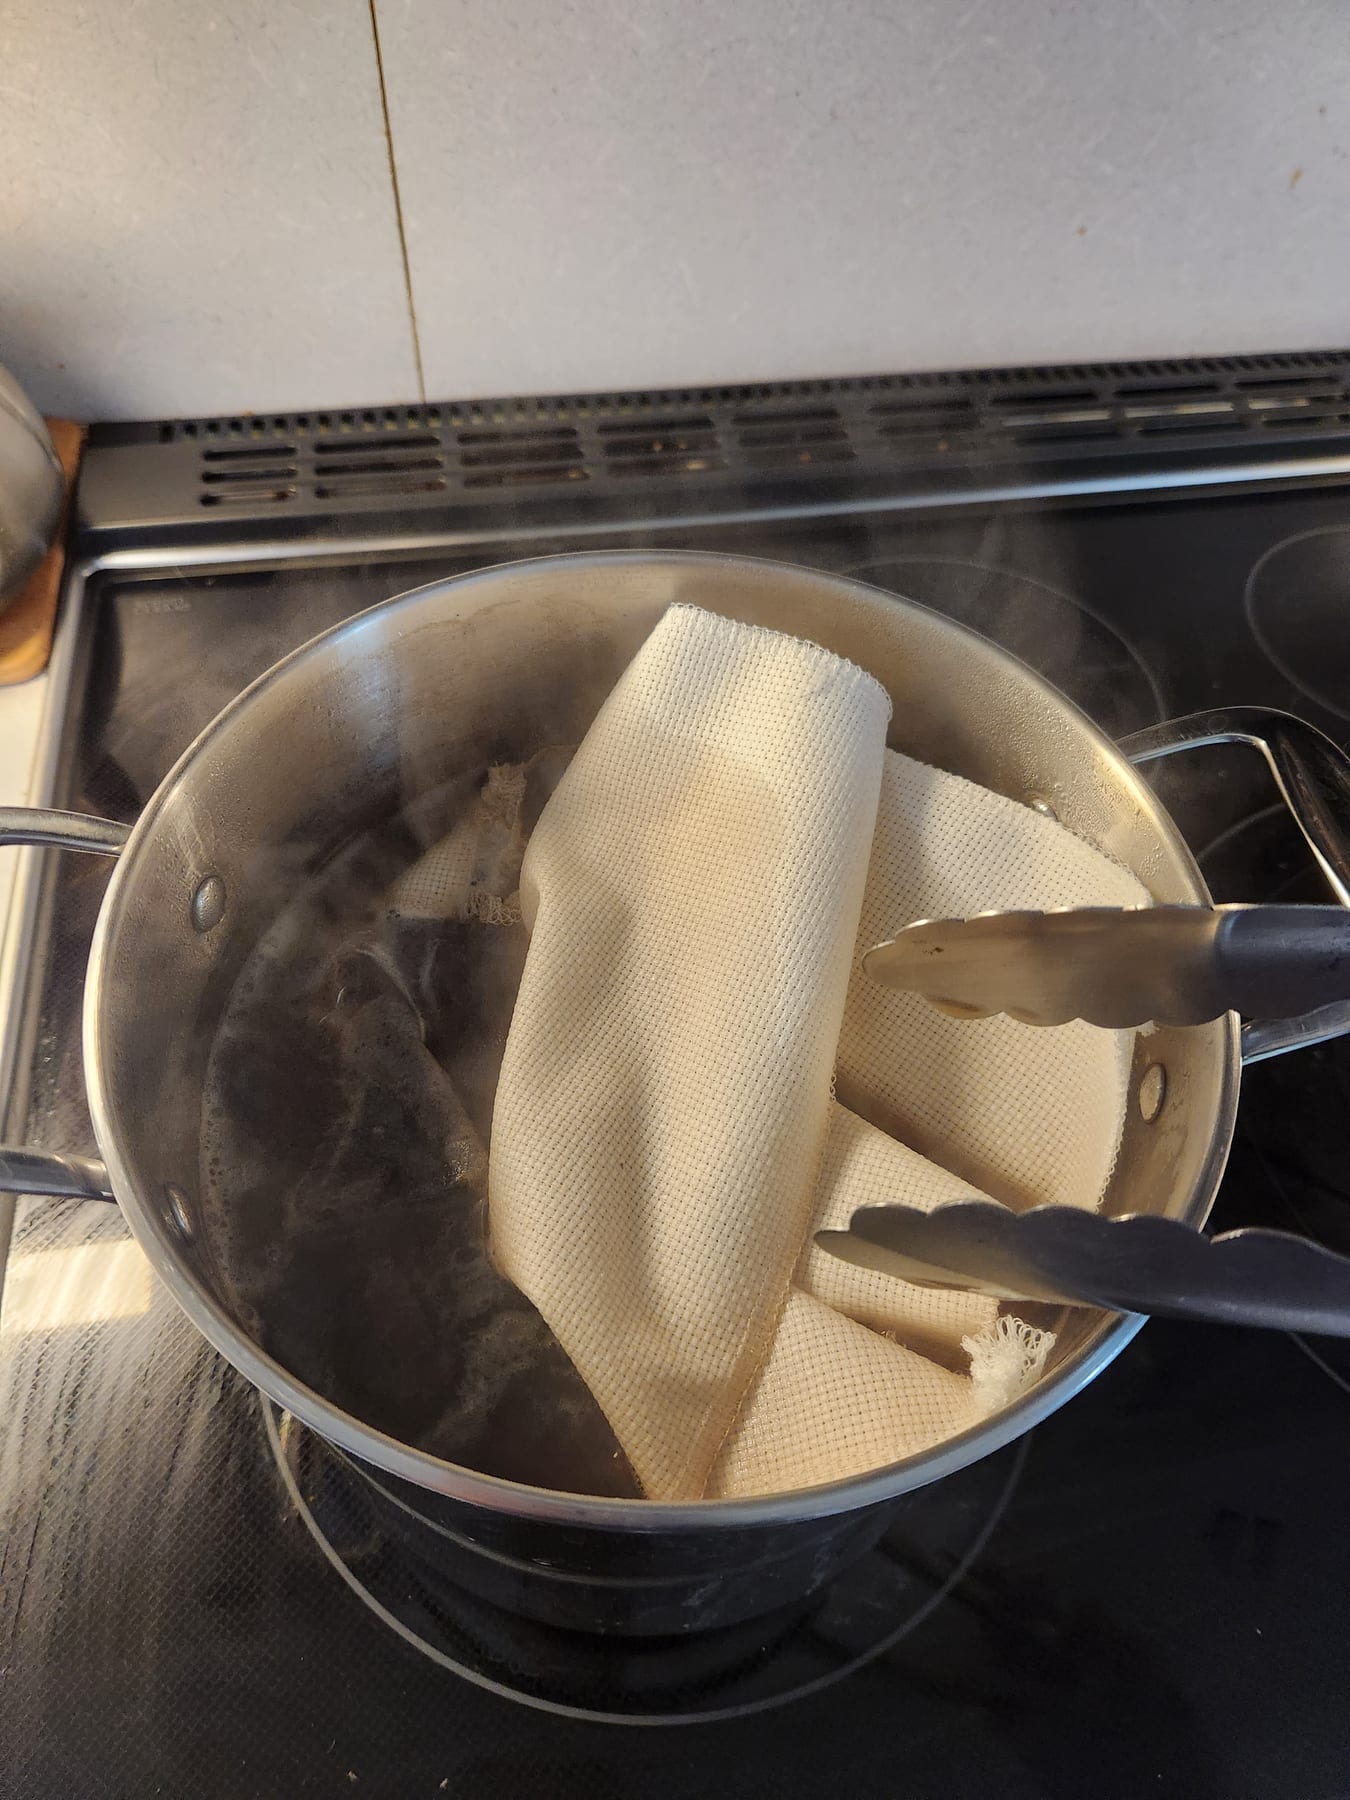
Step 2 — Add the fabric
Use tongs to lower the fabric into the pot. Push it down so the whole piece is submerged, and let it simmer for at least 30 minutes. The longer you leave it in, the darker it will be. Keep it simmering, and use the tongs to wad the fabric up and push it back under every so often so it stays in the dye.
Keep checking your fabric so it doesn’t get too dark. It will darken a little more in the oven.
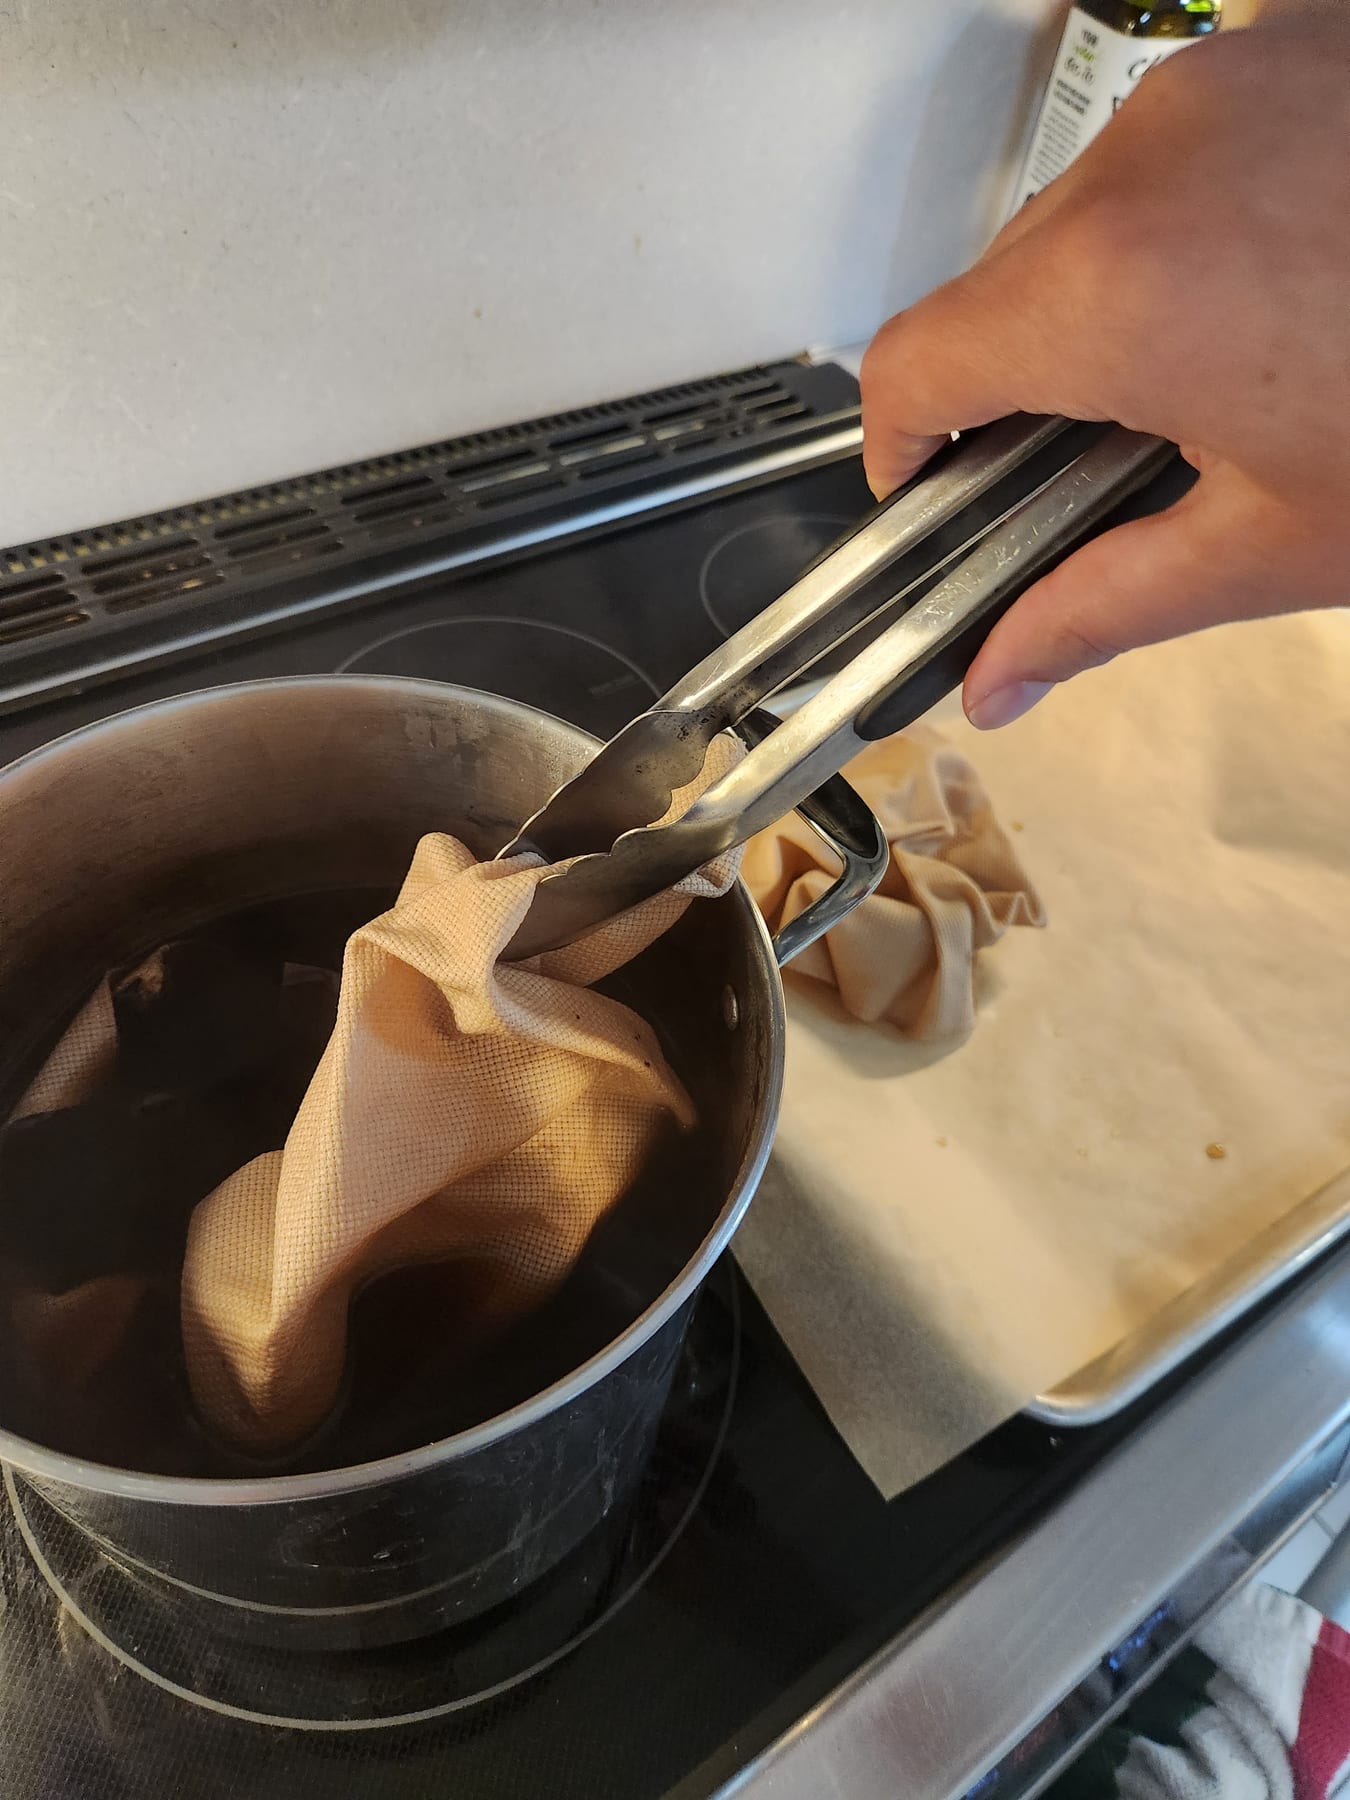
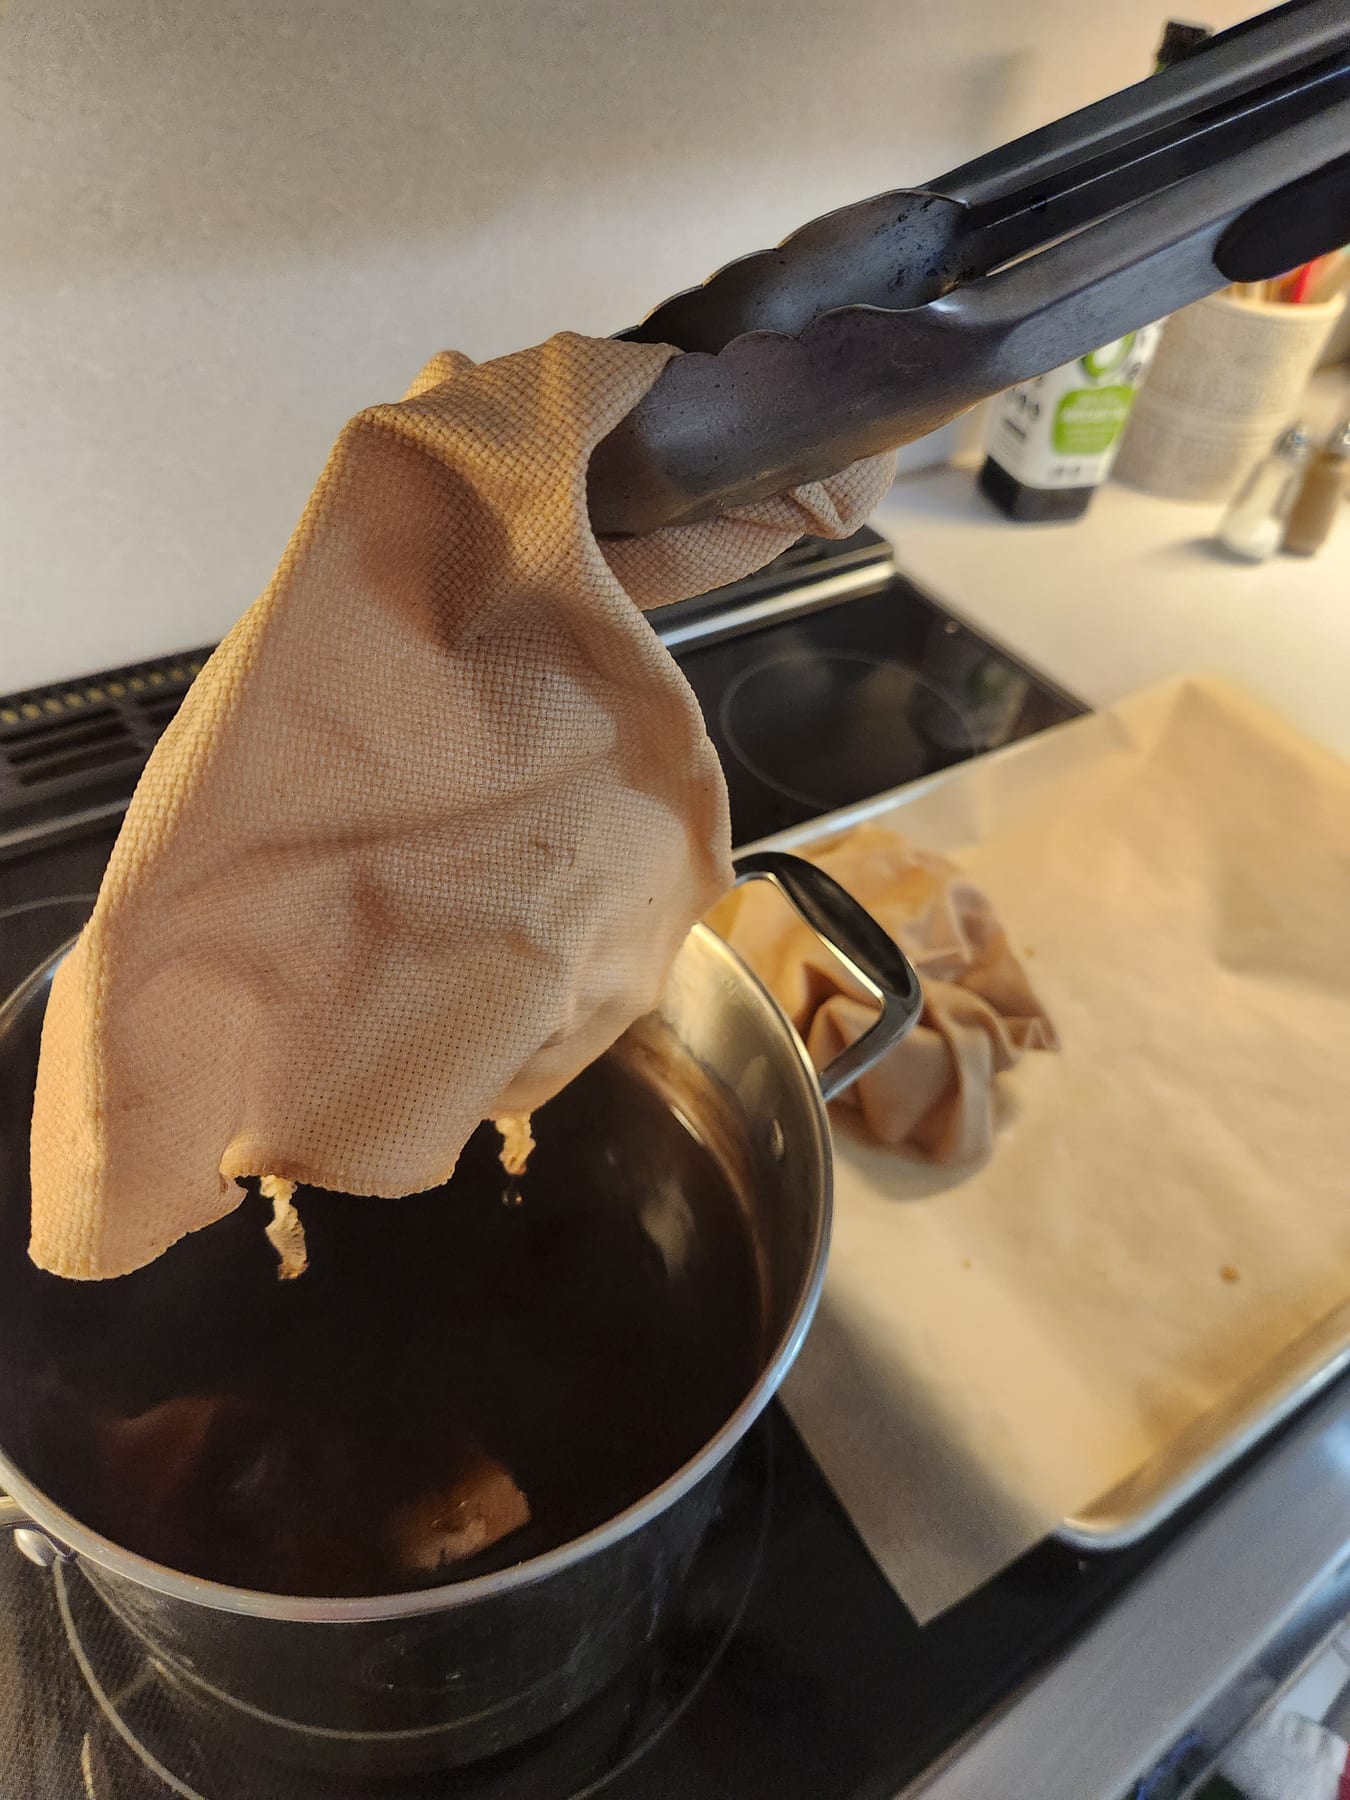
Step 3 — Pull it out
When the color looks right, line a baking sheet with parchment paper. Lift the fabric out of the pot with tongs — don’t rinse it, and don’t wring it out. Transfer it straight onto the parchment.
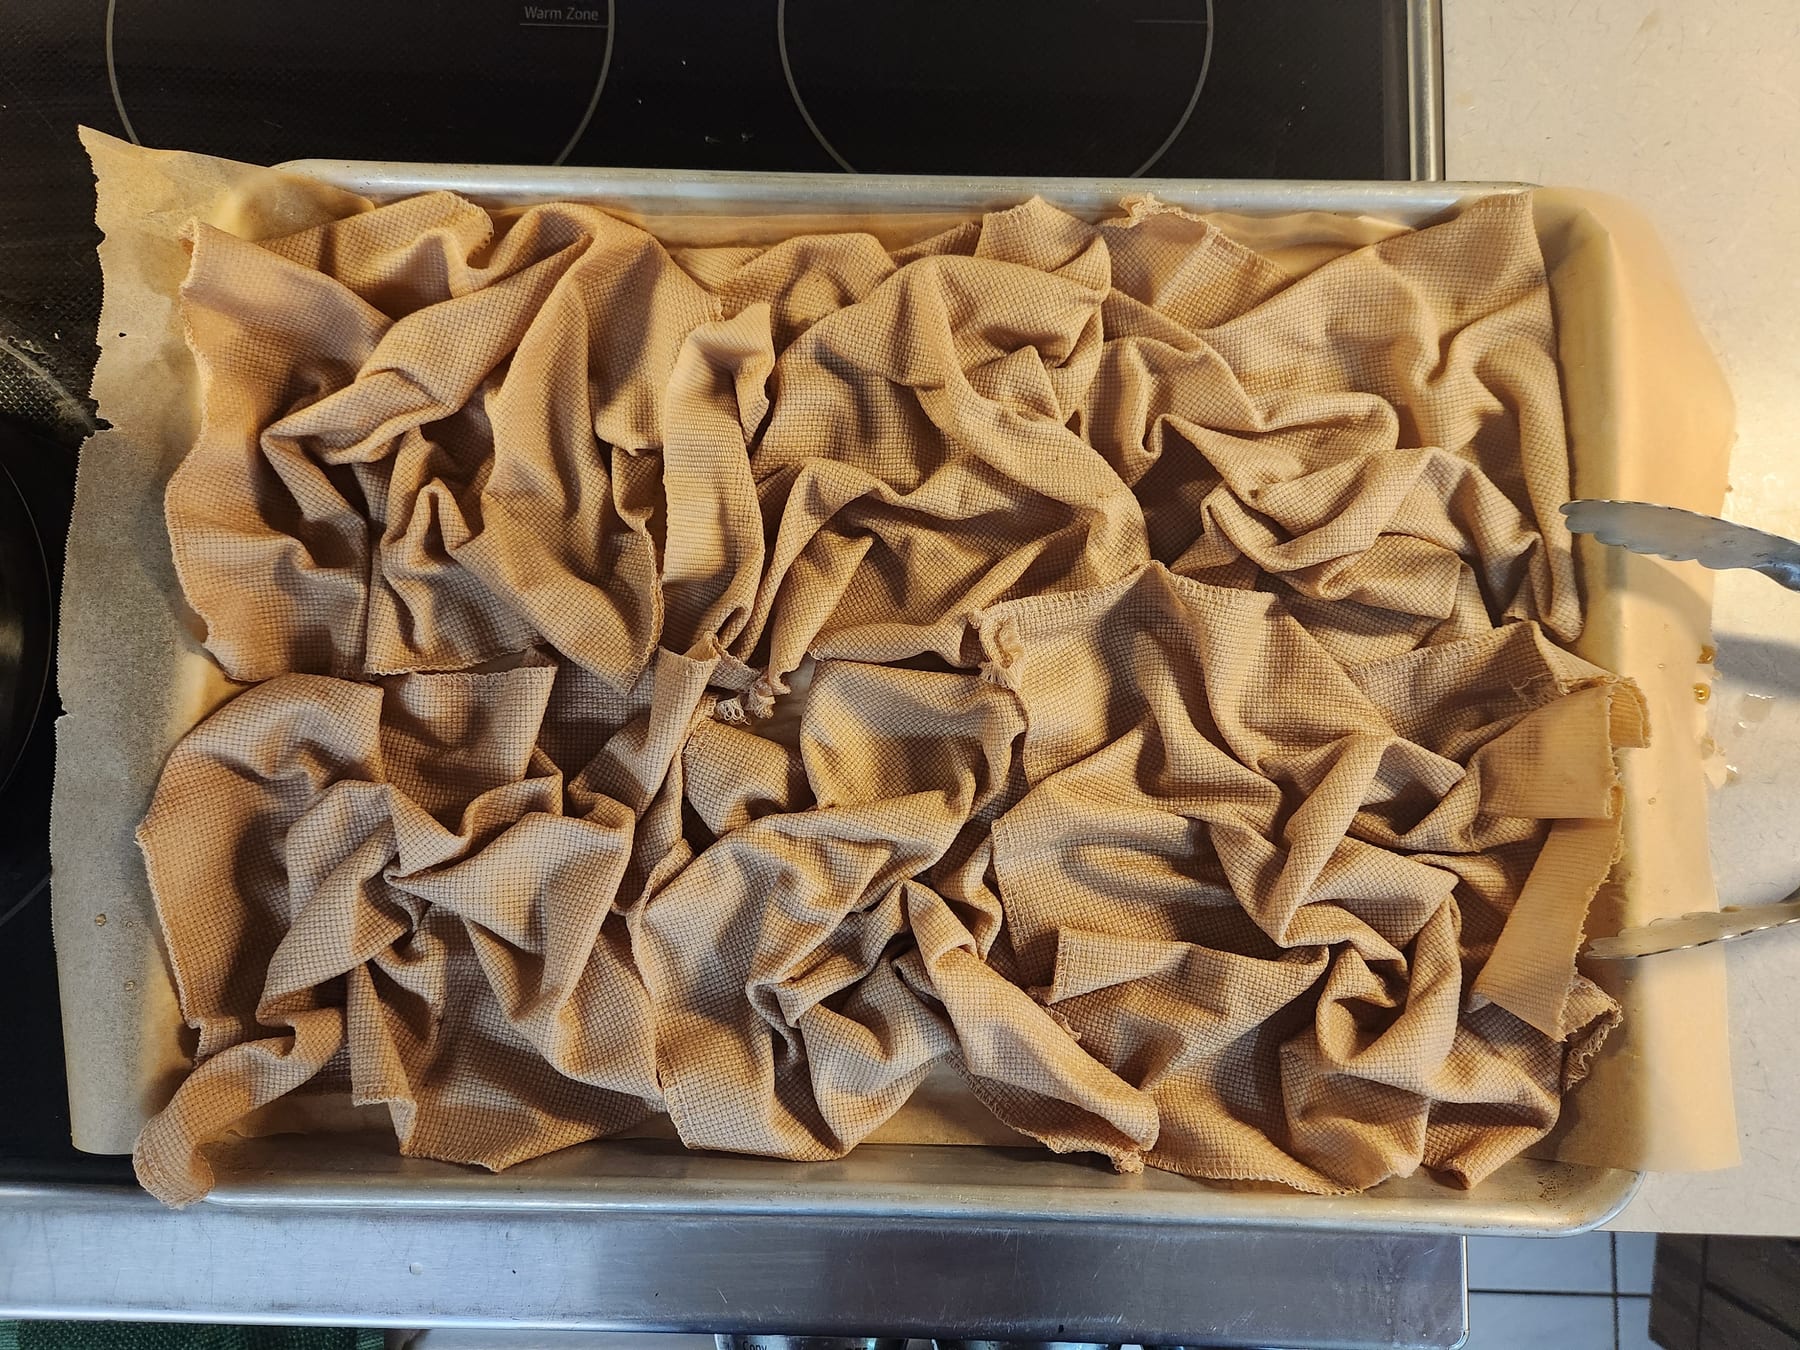
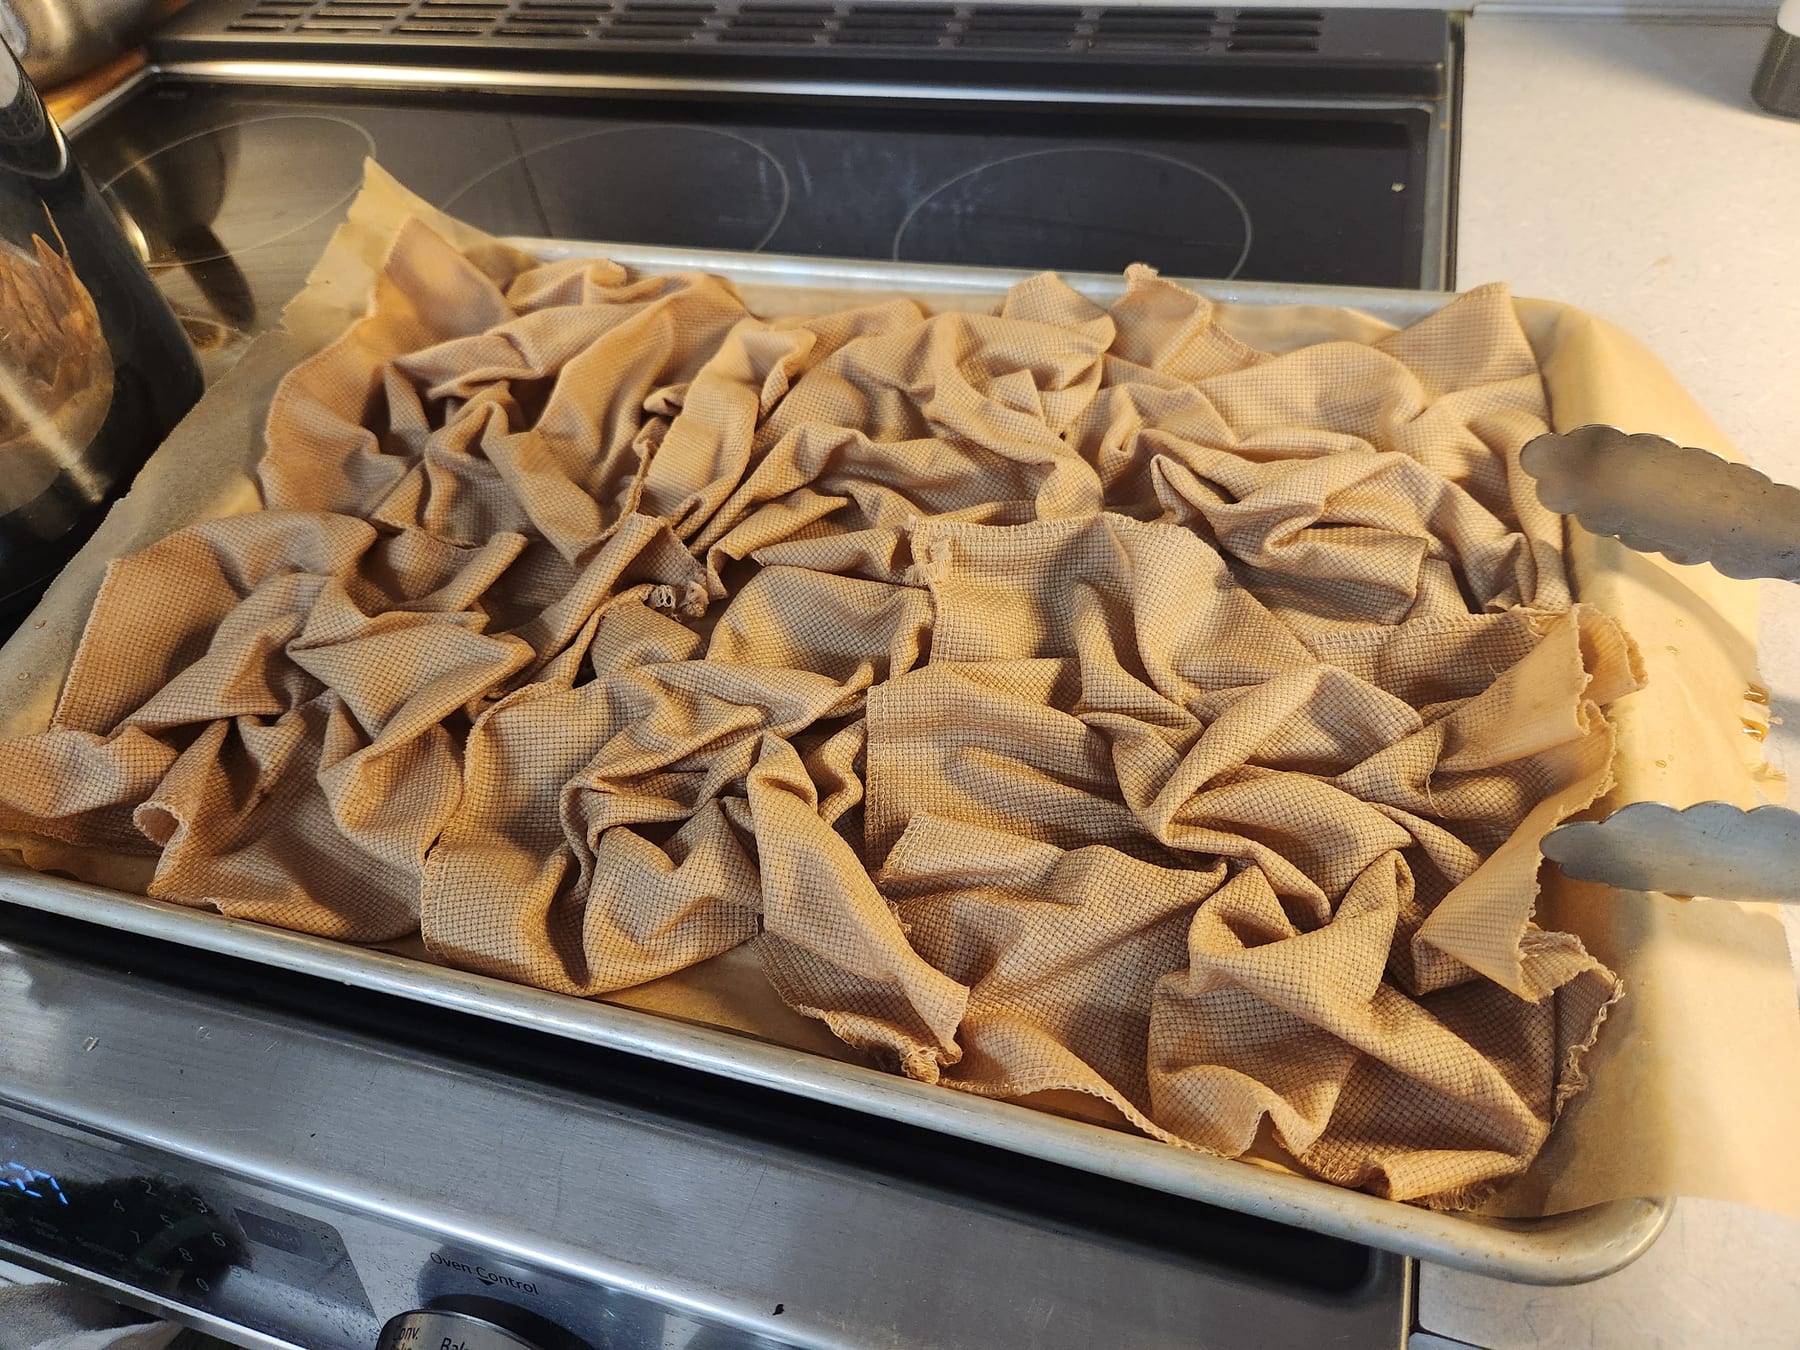
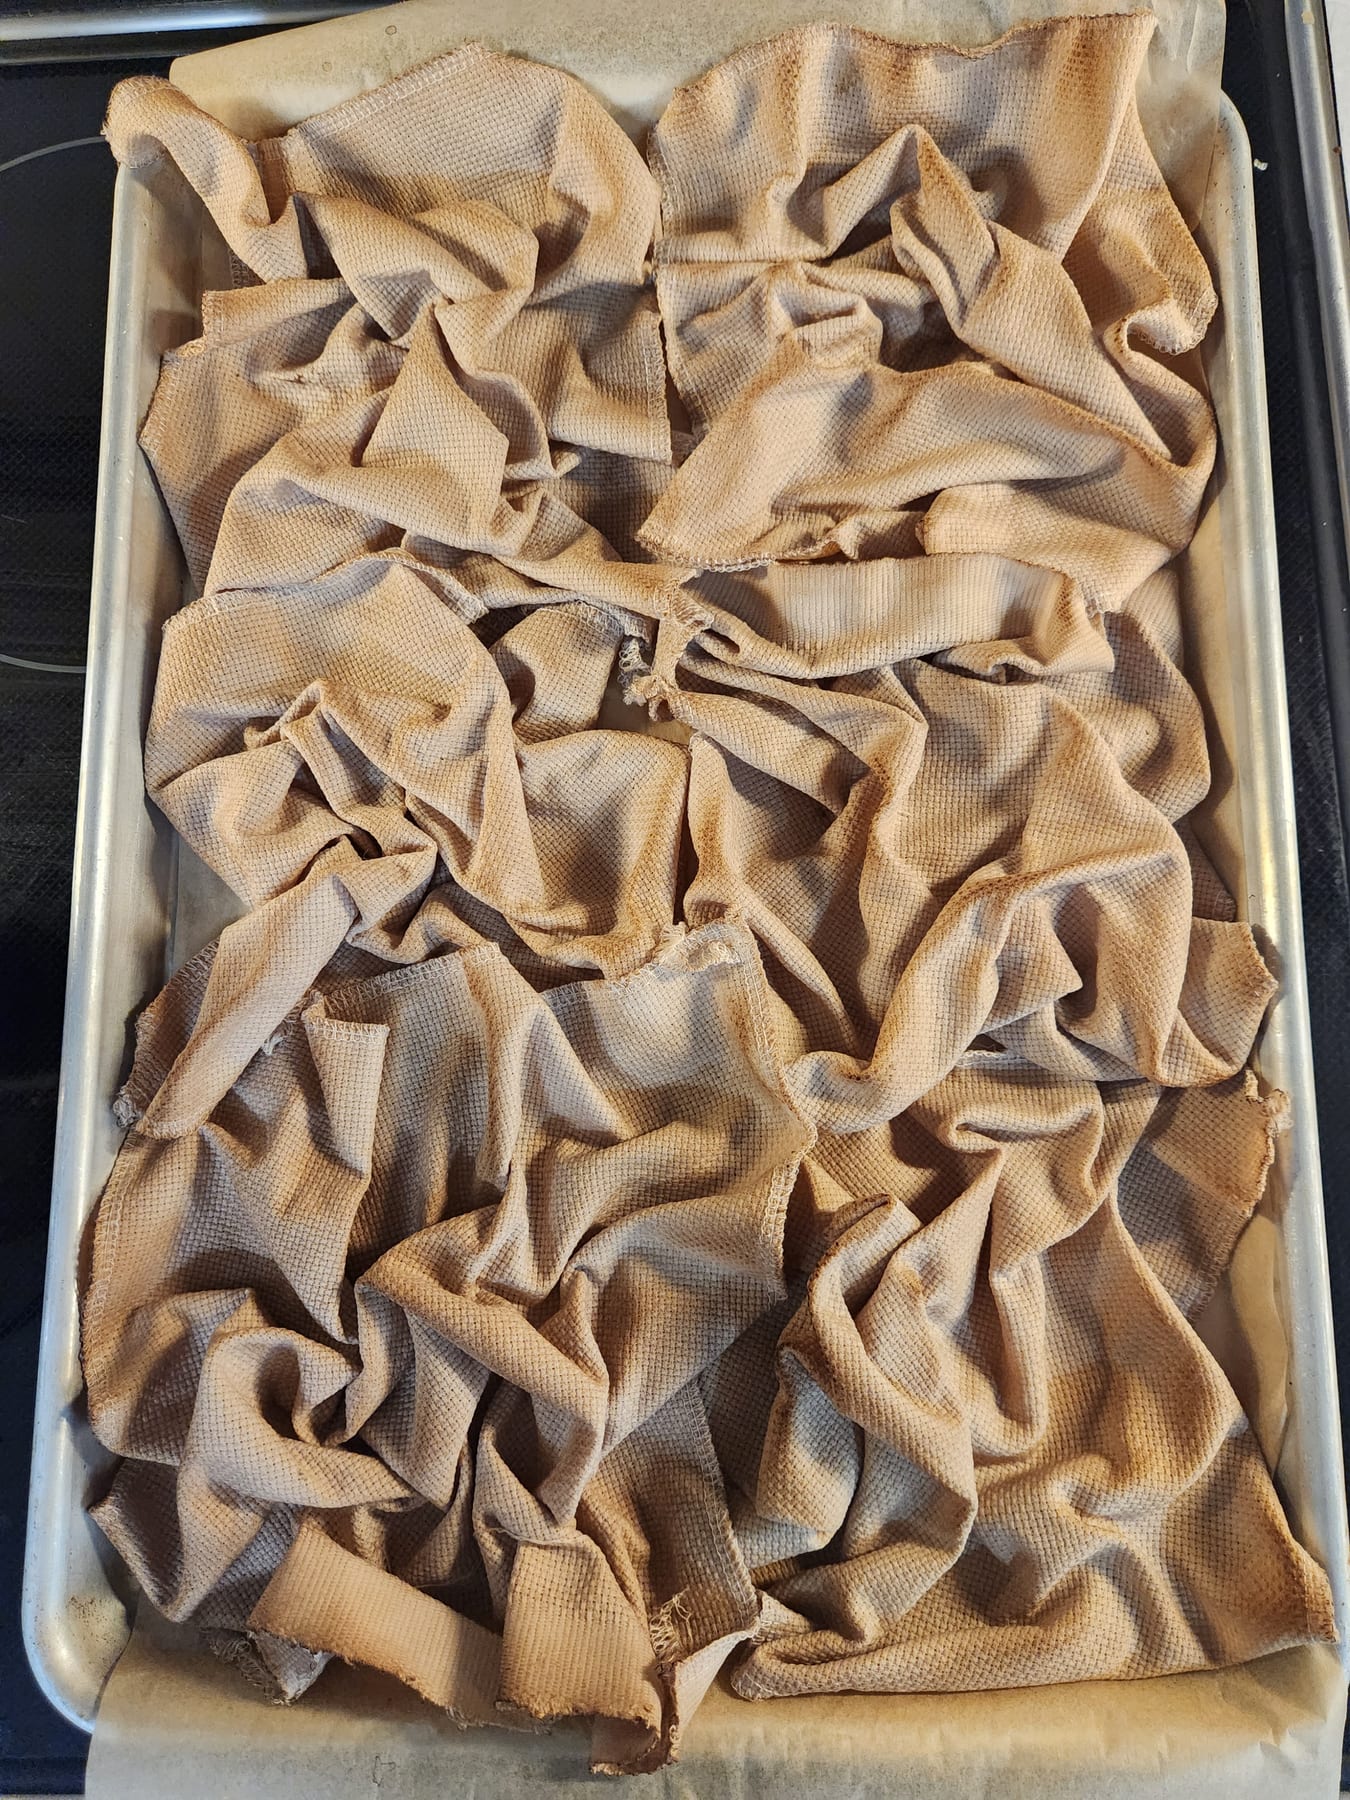
Step 4 — Scrunch it up
Scrunch the fabric into peaks and folds on the parchment. The folds are what create the mottled pattern when it dries. Push the tallest peaks down a bit so they don’t burn in the oven — you want mottling, not burnt spots.
Once it’s where you want it, don’t move it again.
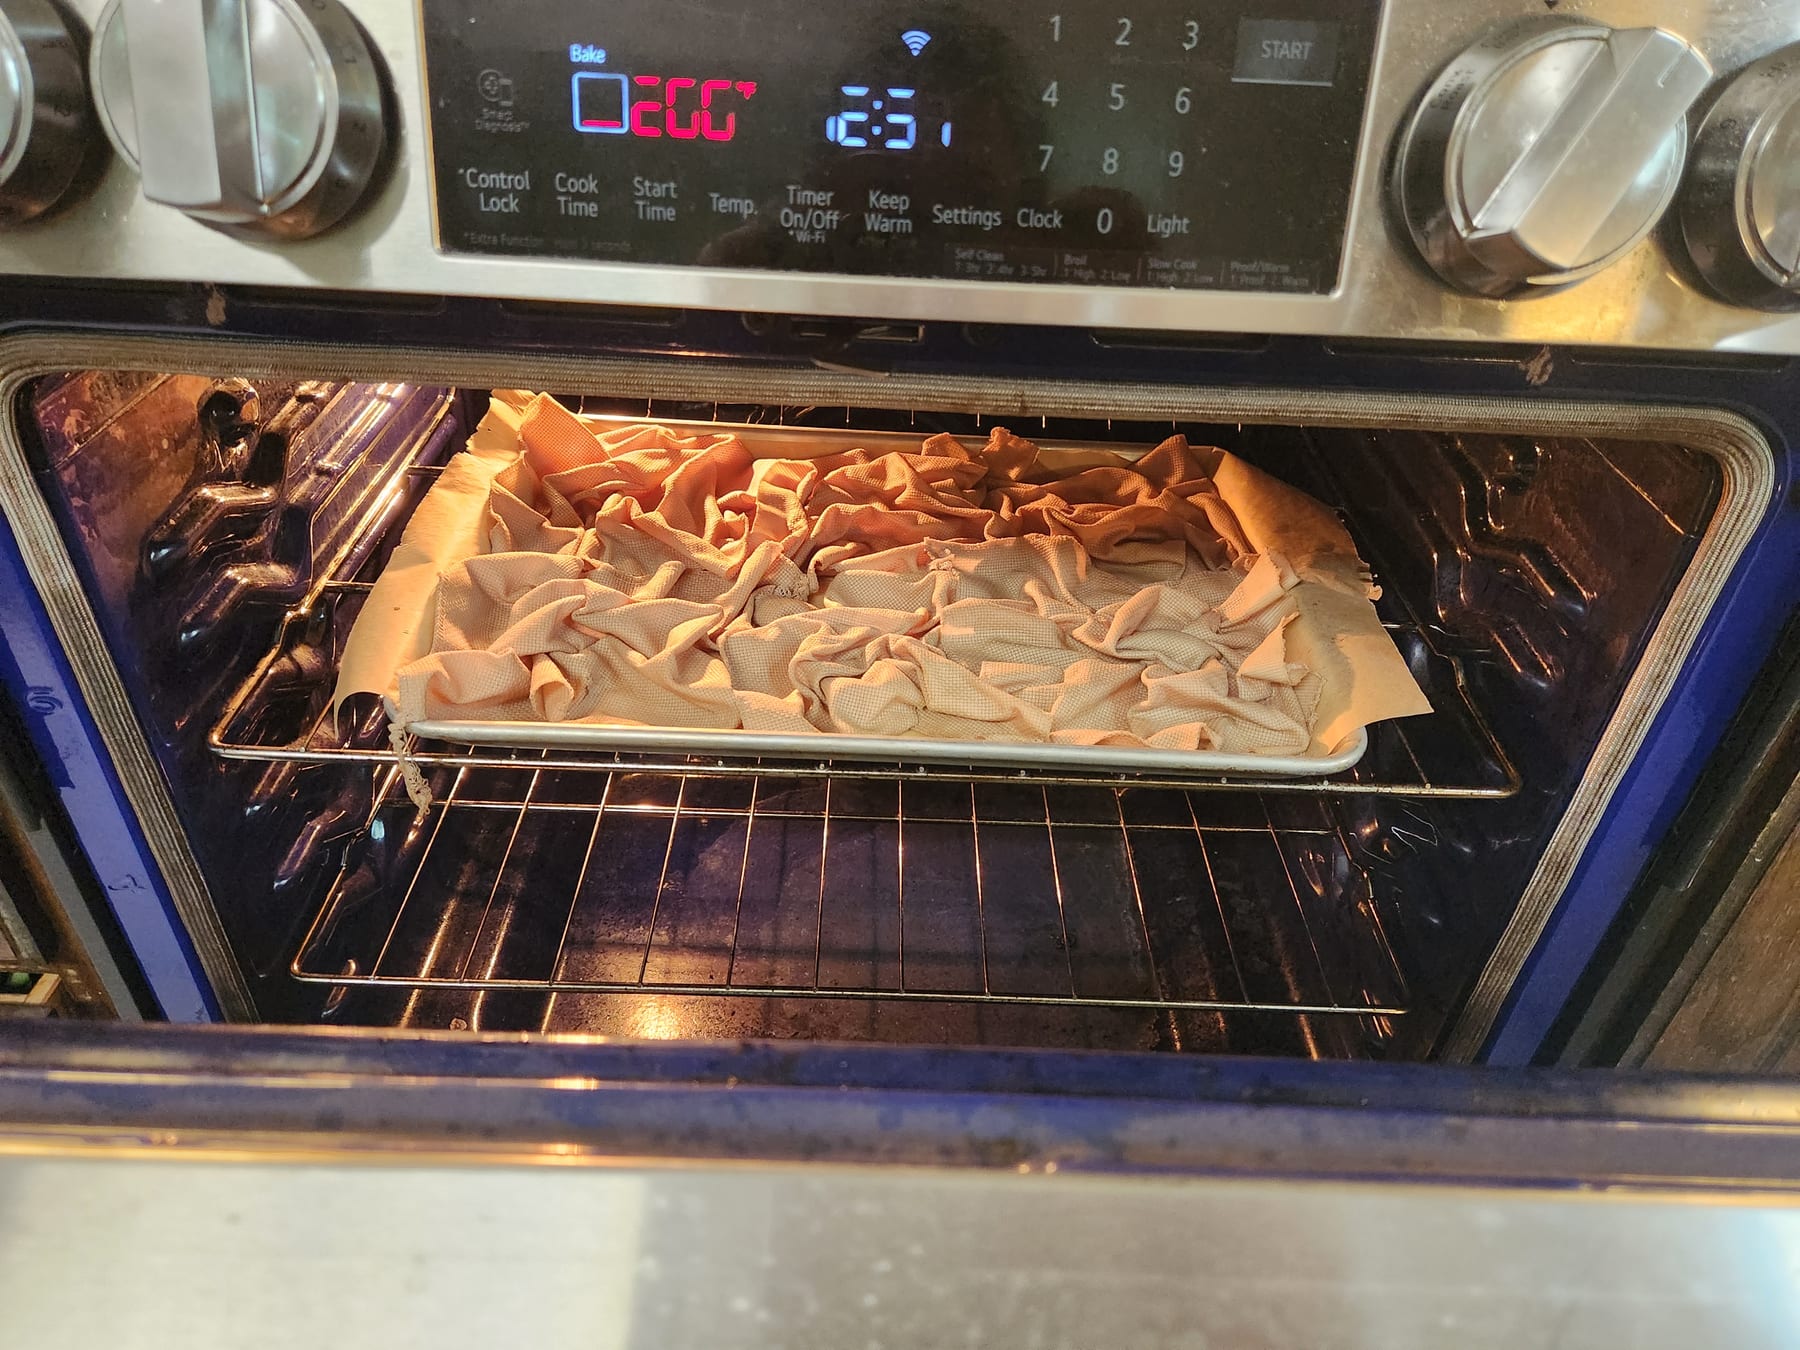
Step 5 — Bake it dry
Put the baking sheet in the oven at 200°F for at least 30 minutes. You won’t really see the mottling until it’s completely dry.
Step 6 — Finish drying
Pull the pan out of the oven. If the fabric is still a little damp, hang it up to finish drying.
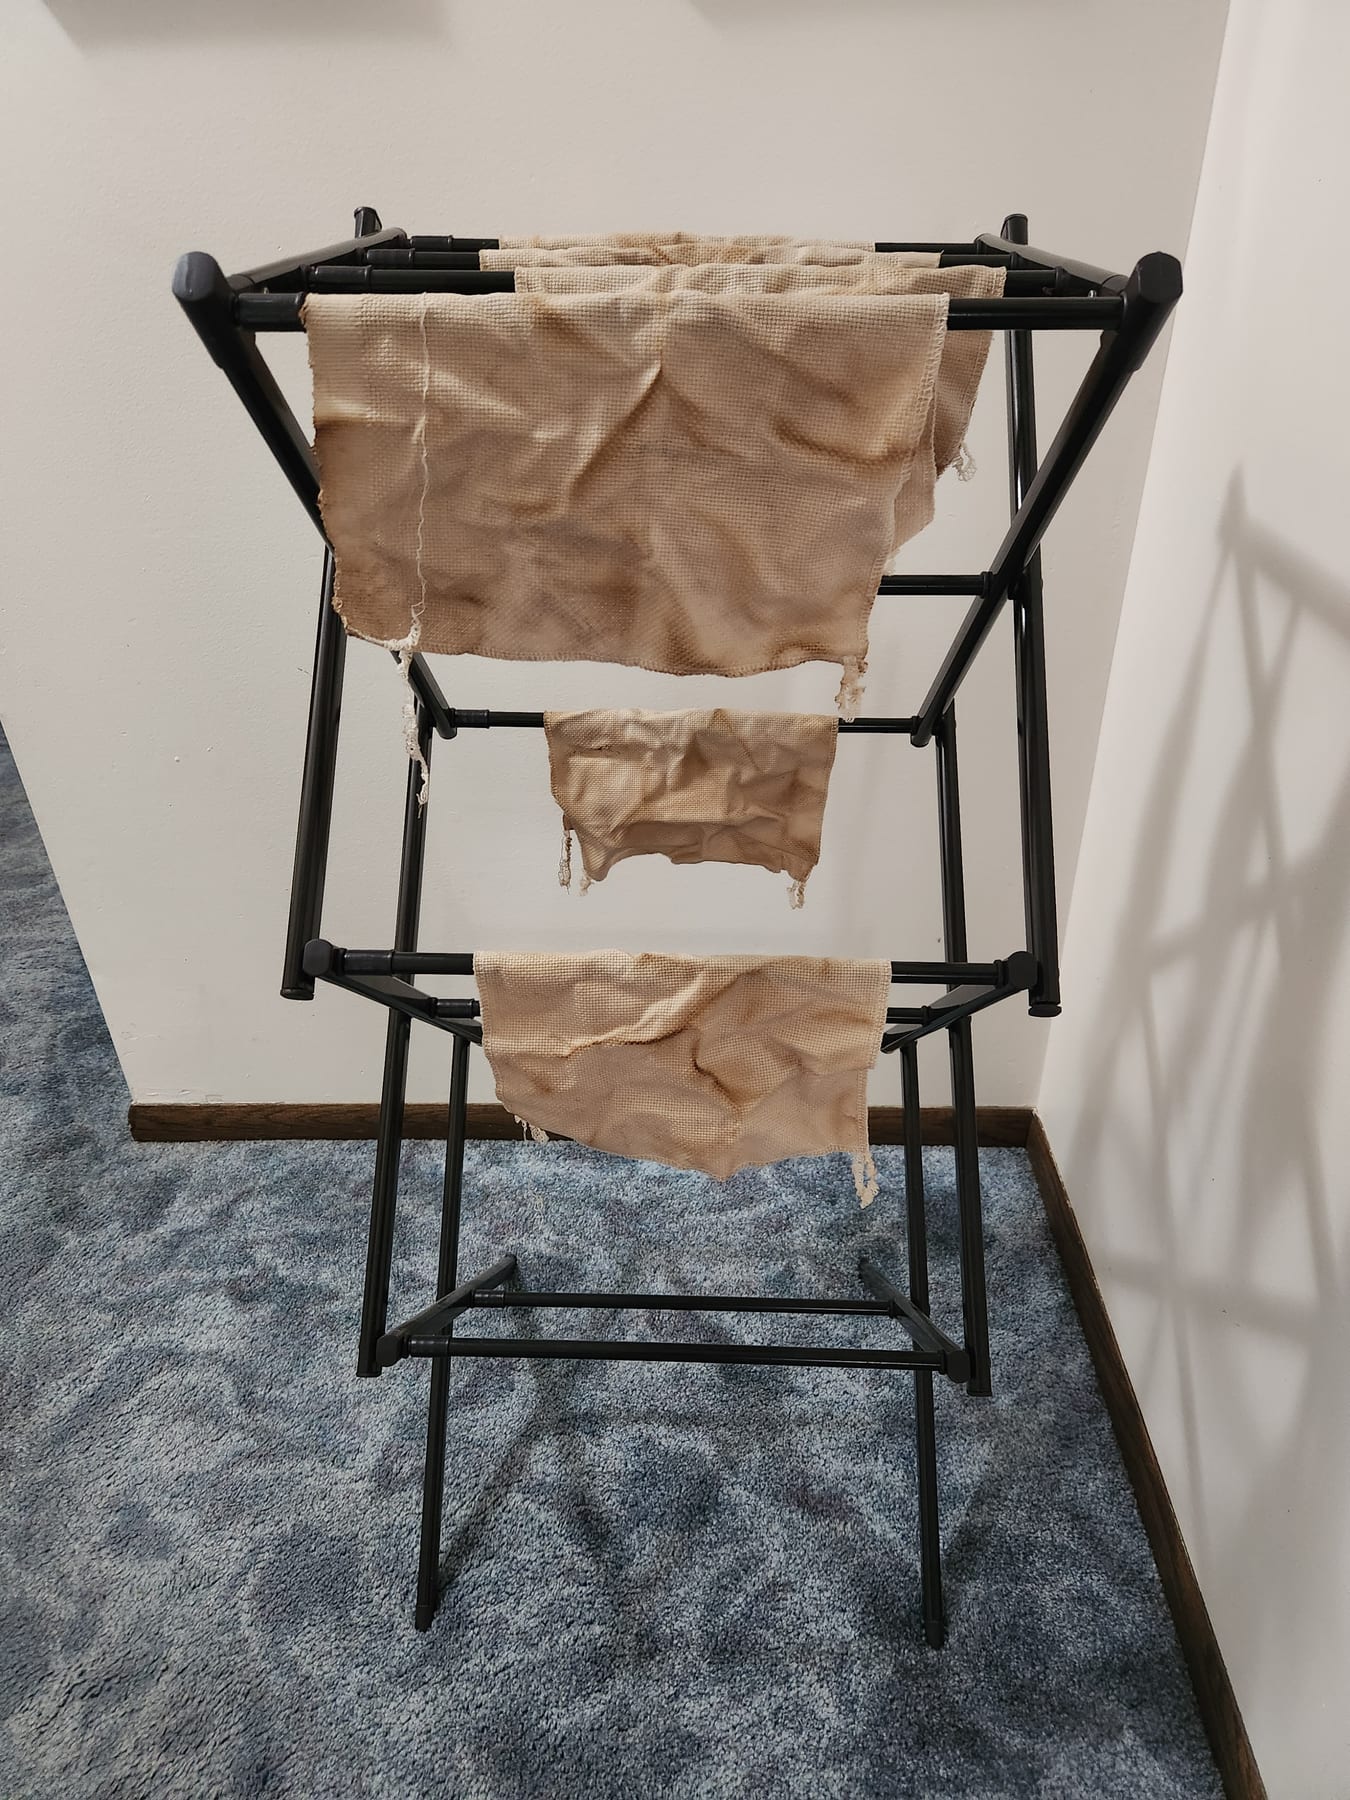
That’s it — a yard of warm, vintage-looking fabric ready to stitch on. Every batch comes out a little different, which is half the fun.